It’s been a while since my last DIY. Moreover, for a party. The last time I can remember was when I was still 29. After that, I spent most of my birthdays somewhere else.
Admittedly, I am very lazy when it comes to parties. But I guess, having a baby pushes me to be not so lazy. So, here’s a bittersweet scenario. My son, just turned one. I can make a DIY kid’s party theme. And did I mention, my son is already one. Yup! That’s the bittersweet! How did that happen so quickly? (I shared our story on my Journal With Me: Celebrate Love).
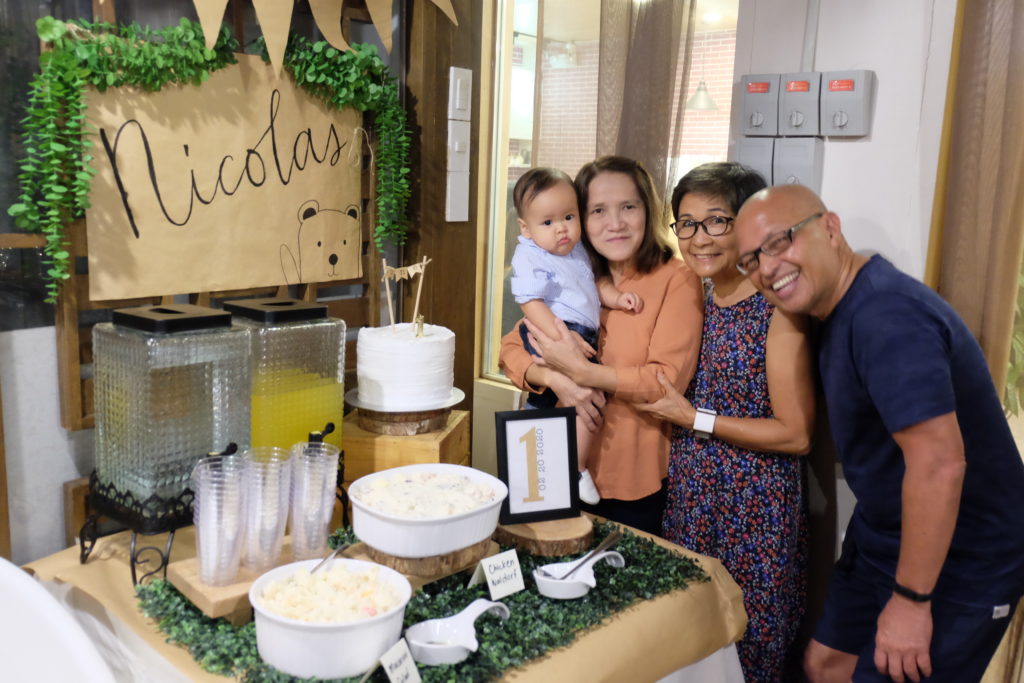
Anyway, last February 20, we had a small dinner party with family at Yellow Hauz to celebrate Nicolas’ first birthday. I wasn’t sure if I wanted a party so I couldn’t decide if I’ll DIY a party theme for him. Not until 2weeks before that everything fell into place. Talking about “I work best under pressure! Huh?
One thing though, I don’t want to spend too much on decors. So, I checked my stuff to see what I can do. Luckily, I found extra kraft sheets from my Artisan Paperie’s Pandagdag (refill) Journal and thought I can make a simple woodland theme out of it. Woohoo!
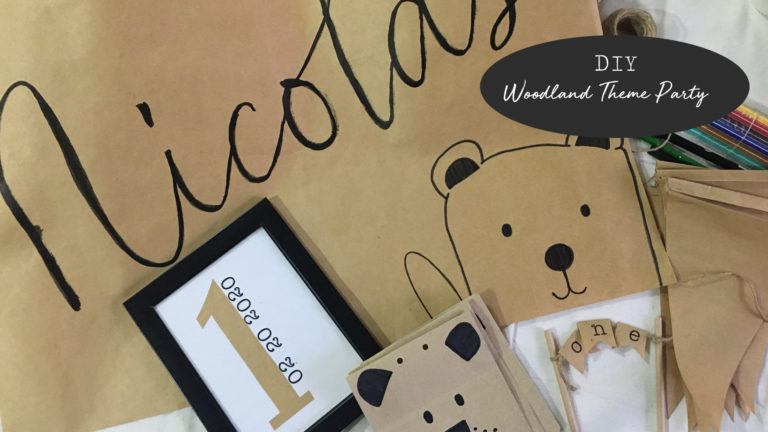
Let me share with you the DIY woodland theme I made for Nicolas.
Materials you’ll need for a DIY Woodland Theme Party.
- Kraft paper (thin is preferable for buntings and tags; thick for banner) But I just use the thin one for everything.
- Brown paper
- Marker and brush pen (I used Stabilo and ZIG)
- Rubber stamp and ink pad
- Staple, glue, washi tape
- Jute twine and white twine.
- Old frame
- Brown paper straw or stick
- Twig and ribbon
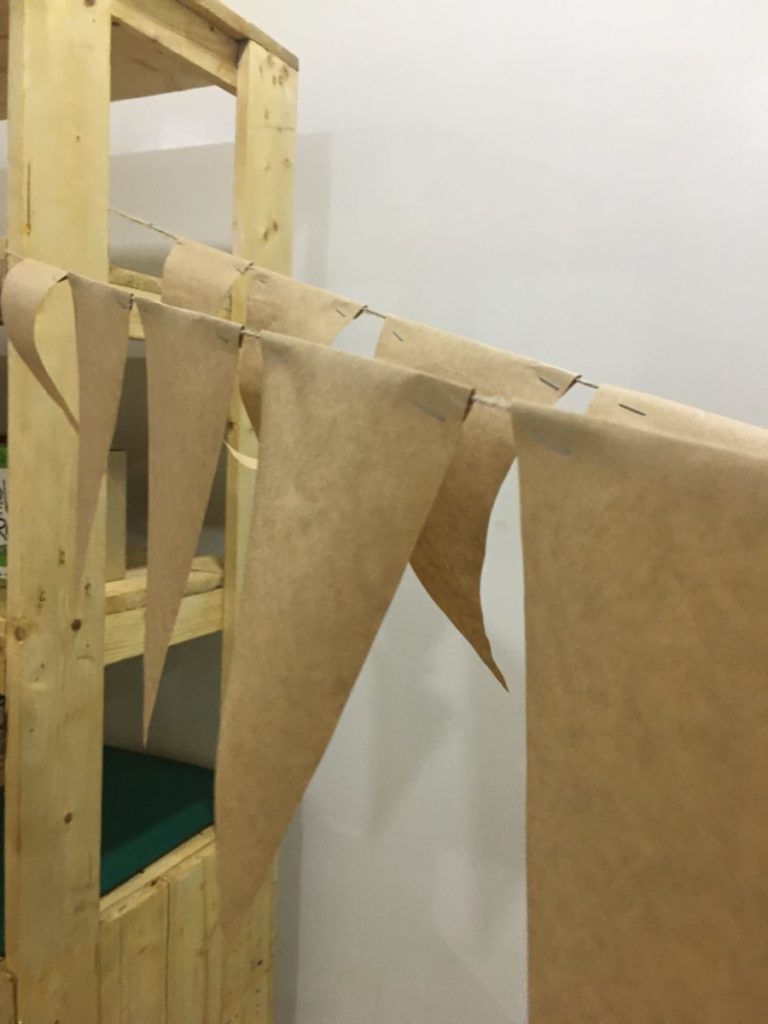
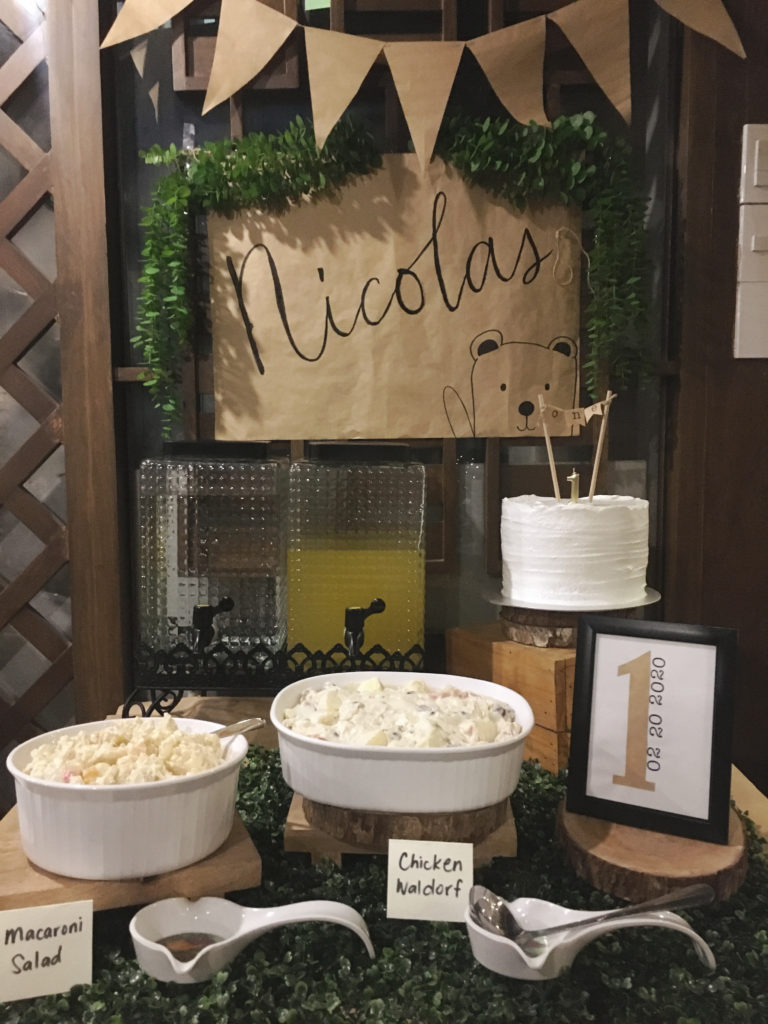
Let’s start off with a bunting. Because the other decors was mostly used from the scrap from this. I folded the kraft paper just enough of the size of the bunting. Used a folder as a guide for shaping a triangle then cut. Staple in a twine.
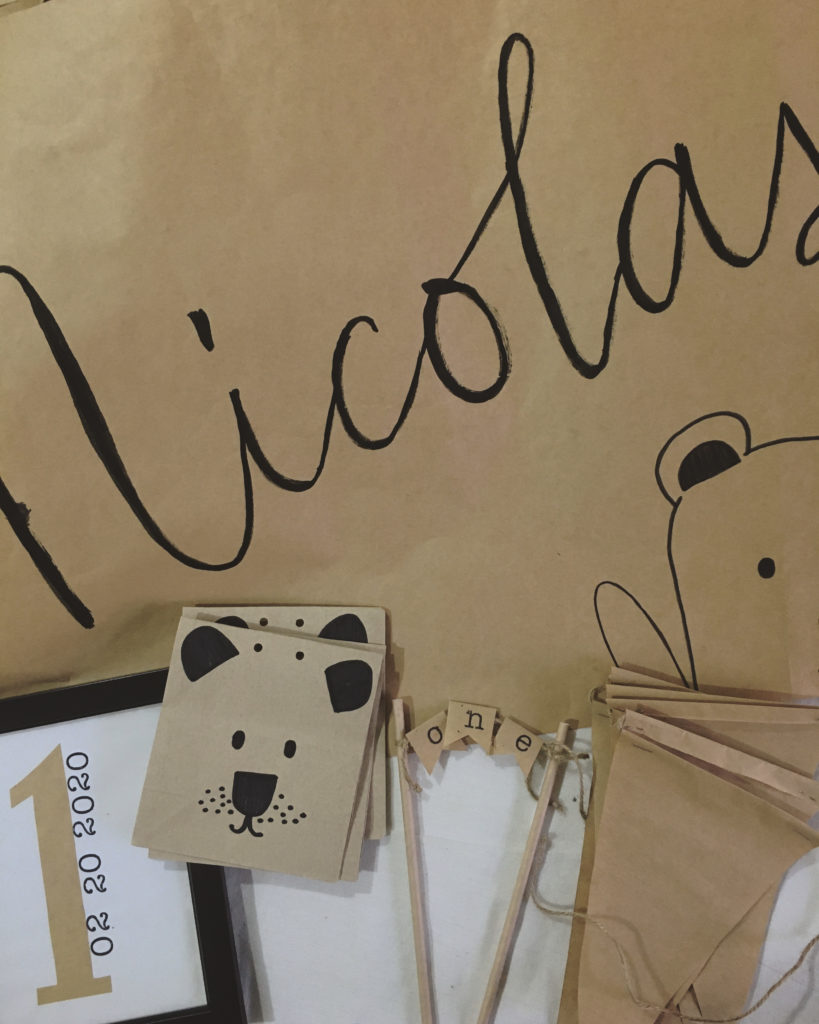
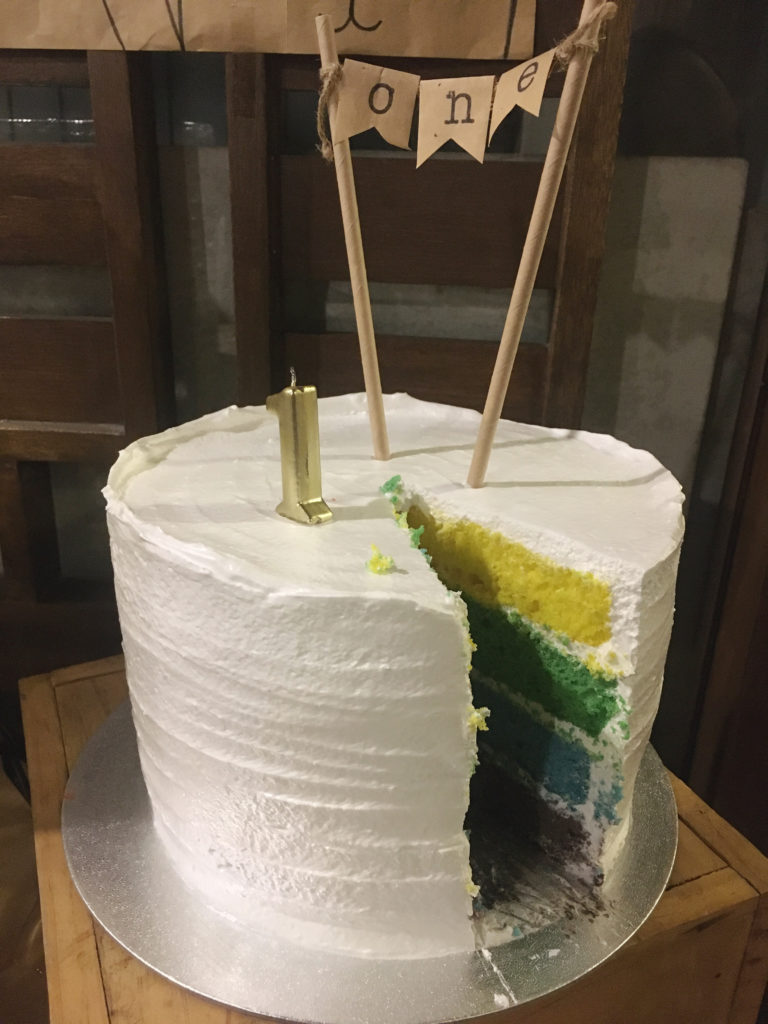
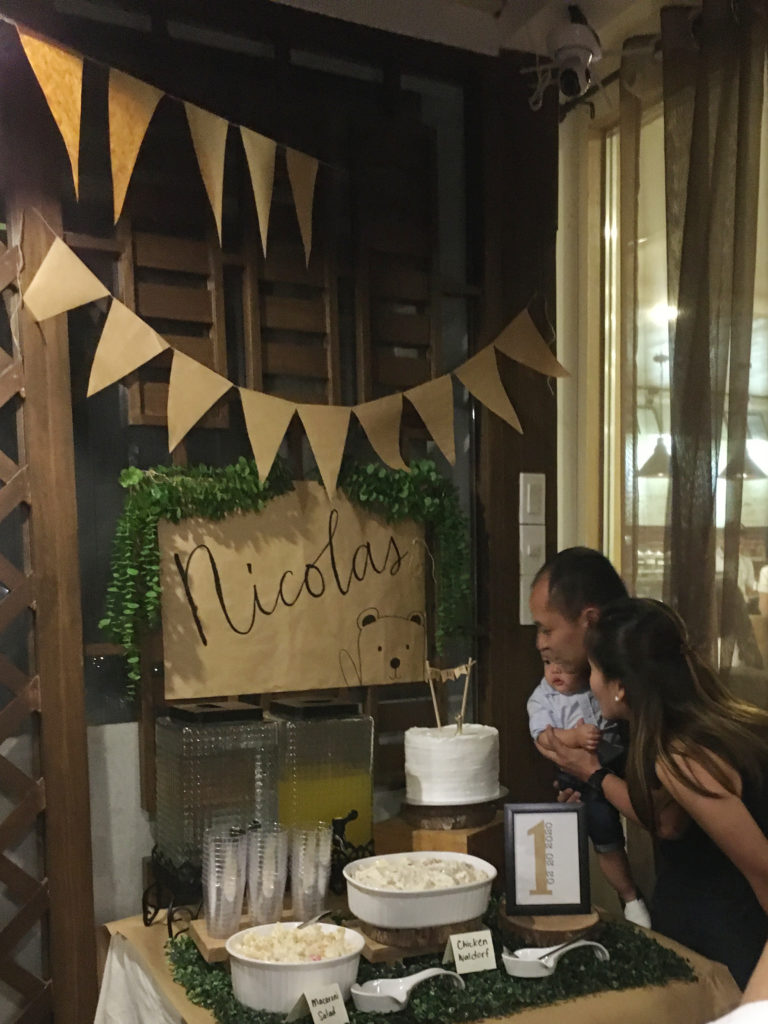
Cake topper. From the scrap of the bunting just form a banner then stamp with the spelled out number. In my case, one. Washi tape it at the back and tie the ends with the straw.

I ordered the rainbow cake to our baker in Yellow Hauz. Her name is April too. She does all the cakes for the cafe while our official baker, Joan is still in the US. We sliced the cake during the party so everyone can enjoy it too.
Beside the cake, I added a number 1 in a picture frame. I just drew a serif number 1, cut and glue on a white backing. Then added the date of Nicolas’ birthday using rubber stamps.

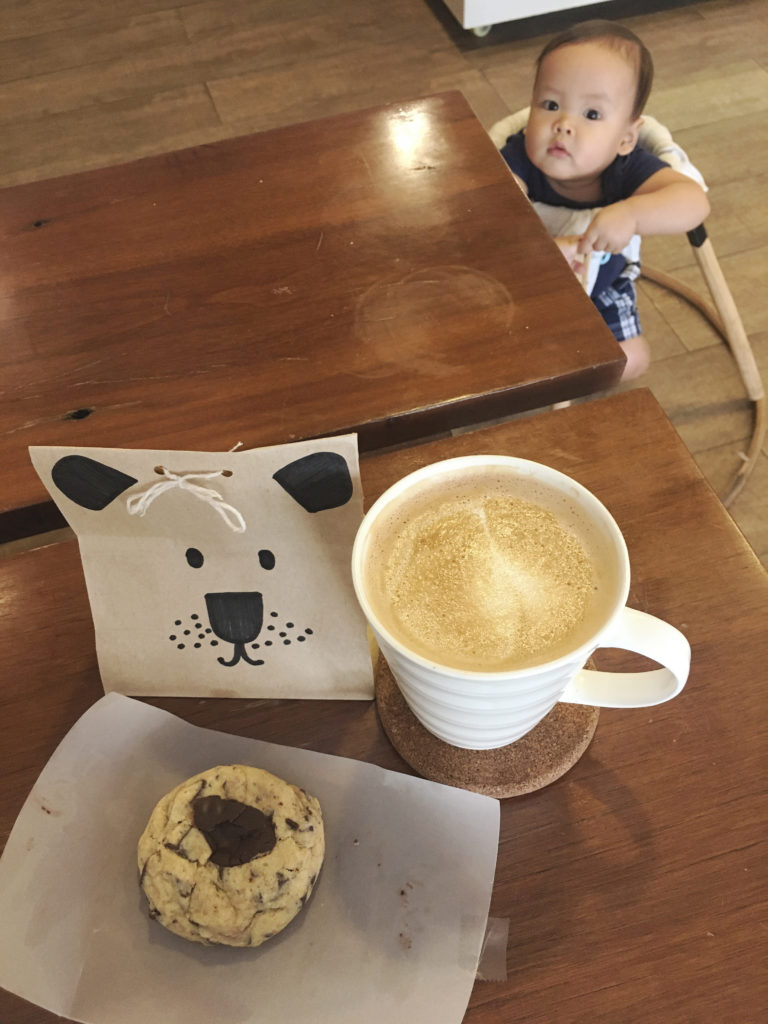
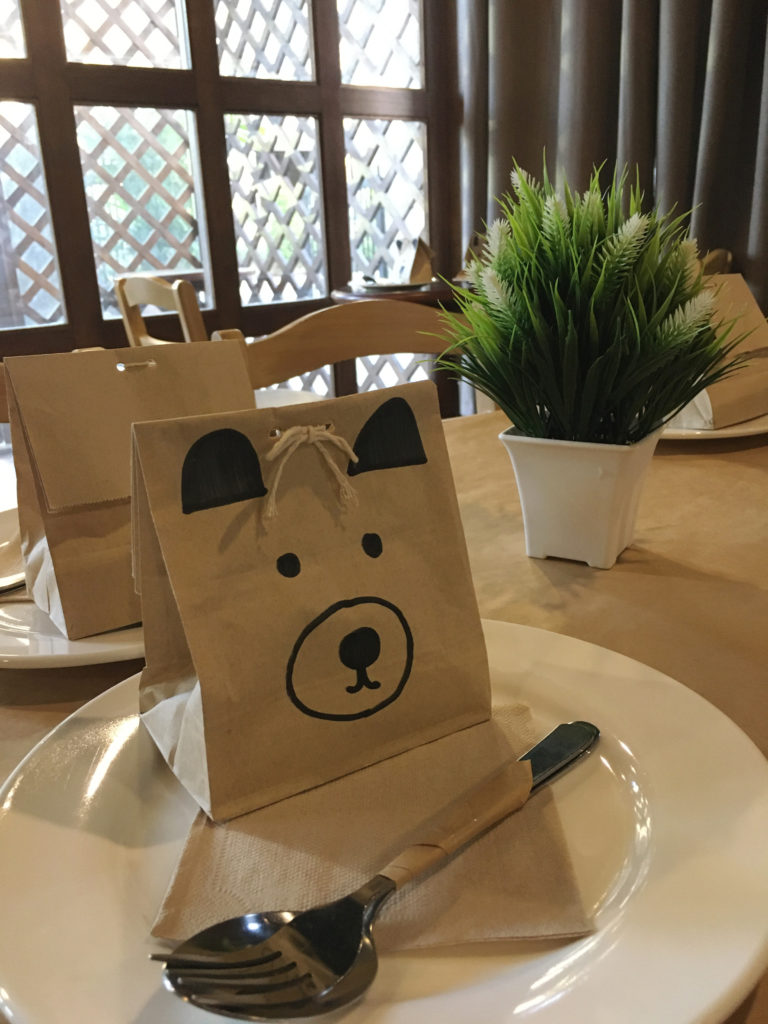
Now, party favors. This was probably, the most hard labor ever, lol. Good thing, we only had 20 guests. Because these were all hand-drawn. Imagine the love poured here, lol.
I just used brown paper with white twine and parchment paper inside.

Inside was a chocolate cookie from Paolo of Secret Garden. If you’ve watched my Studio Vlog 14, he helped me while I was curating the watercolor kit. He also delivered cookies that time and I super duper loved it so I thought, it would be Nicolas’ party loot.
Message banner. This is one of my favourite. It’s about a 1/4 size of an illustration board. Drew a bear at the bottom part and stamped the date. Not shown here was a cut-out of different sizes and shapes of balloon like paper. Here, guests will write messages on the cut-out then will glue it as the bear was holding a balloon.
Check the photo after the photo banner how it turned out.

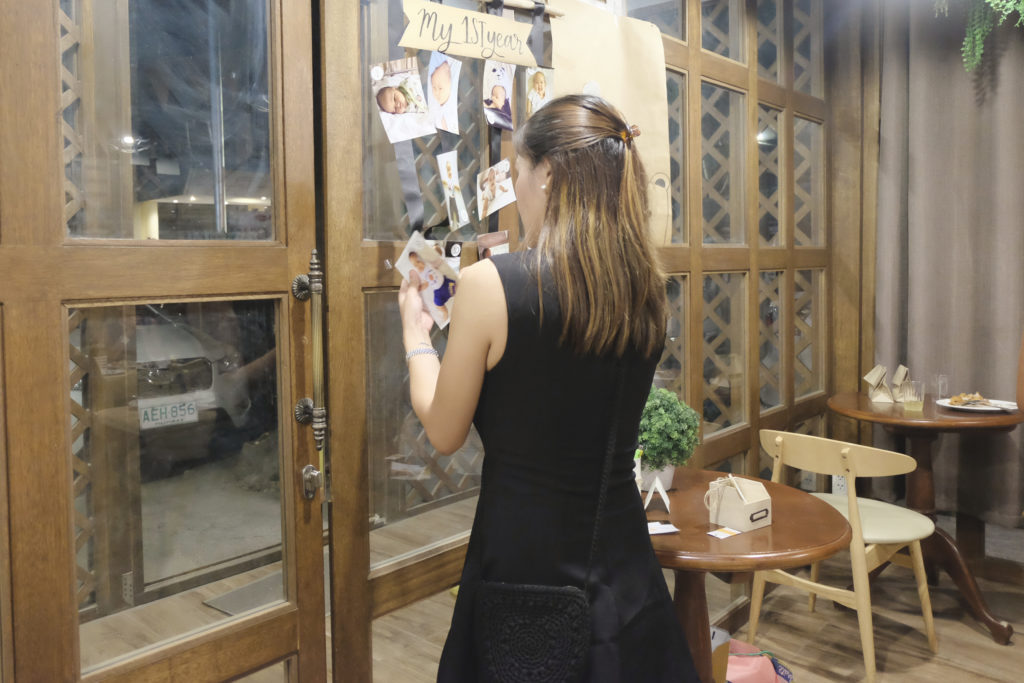
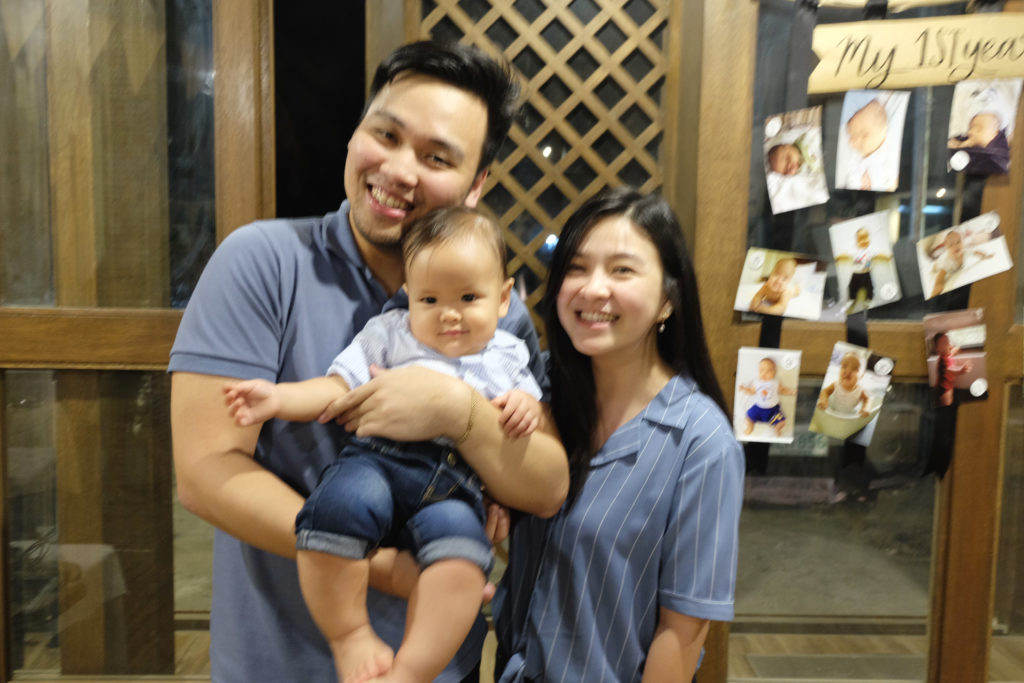
Photo banner. Another of my favourite decor I did. A photo each month for the entire year. Looking back here made me teary-eyed. It was really a quick one year. One of the best year of my life.
Here, a twig from our neighbor was sacrificed. Ribbon stapled on it. Made a banner for the title and twine for hanging. Photos of course. As for the months, I rubber stamped them too to match the numbers of the dates from the other decor.

I used tape to stick the photos at the back of the ribbon thought sturdy enough but won’t damage the photos. Apparently, it made the back of the photos sticky plus it kept falling off. So, I suggest, use a glue gun instead.

This was the entire decor looked like…

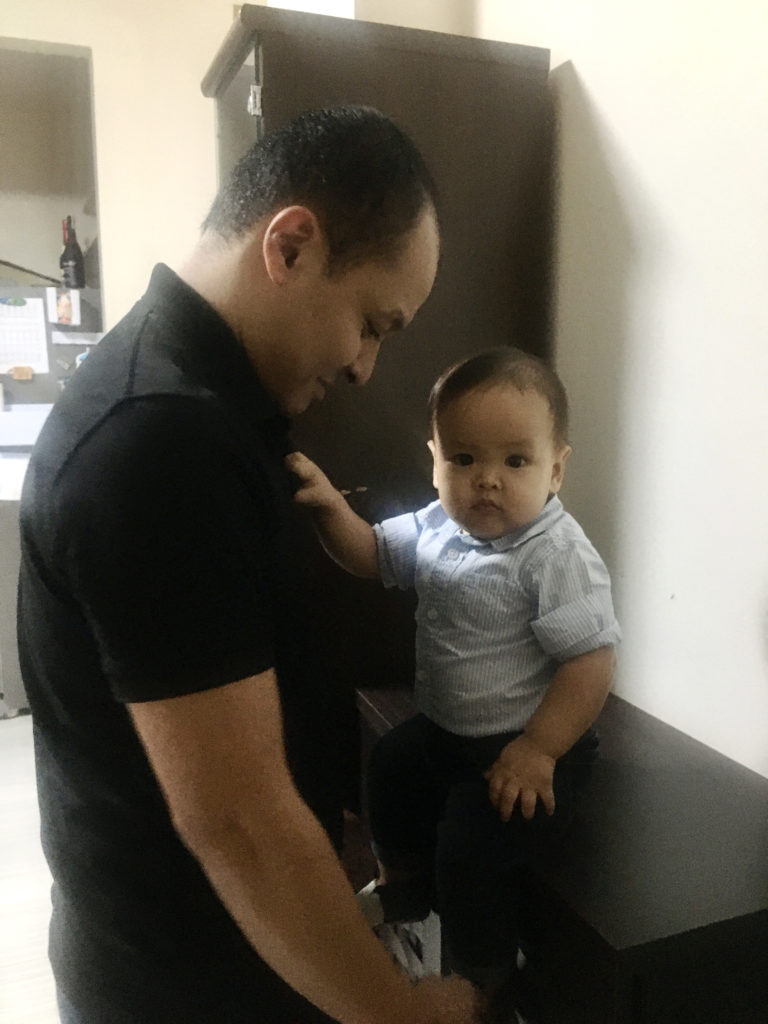
After we set-up everything. We freshen up first and when I saw Nicolas while his Papa was putting on his shoes, this was his pose. How can my baby grow up so fast? I still cannot believe it. Still in denial he’s already grown up now.
As we went to the function room, some of guests were already there. Then we had dinner right away after everybody’s complete. Probably not the usual first kid’s birthday. Since we didn’t have any games nor anything for kids, lol.
We sang him a birthday song and he cried after everyone clapped their hands, hehe. He cries when he gets shocked.
Here’s a video of the DIY’s and during the birthday.
Let me share few photos from the dinner.
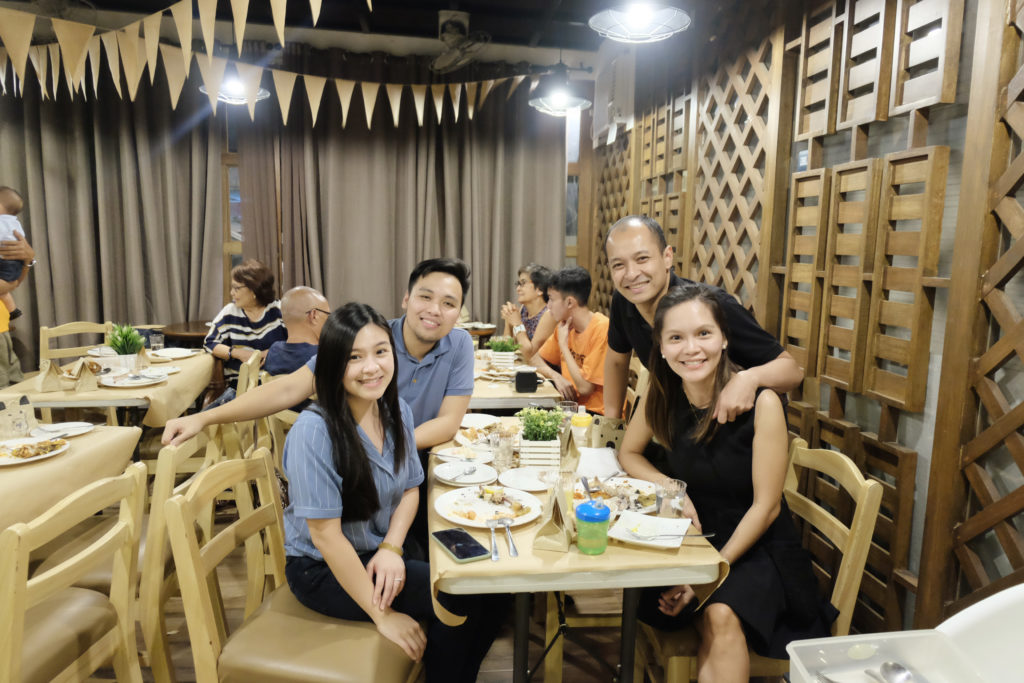


And here’s everybody… Missing my sister and her family. And Wacky’s sister and nephew.

And that was Nicolas’ first birthday. A simple and small gathering of family.
Happy birthday, my dear Nicolas. You won’t remember this celebration yet, so one day, will share this blogpost and the video too so you’ll have a glimpse of what happened on your first birthday. Papa and Mama love you so very much.
