I’ve been seriously hooked with Daniel Smith watercolour since the first time it was introduced to me by Jad. I bought my first few colours of when I was in Vancouver and when I got back, I was worried I cannot add more colours to my palette. Luckily, I saw des_artroom carrying Daniel Smith here in the Philippines. I bought few more tubes and an Escoda brush. Imagine how happy I was.
Anyway, when my order arrived, it was placed in a very cute box. So cute that I don’t want to throw it away. Instead, I up-cycled it so I can use it for other things. If you were able to buy from des_artroom or you have a similar box like this, here’s an idea to up-cycle it.
Materials for DIY Upcycled Box
• Box
• Rubber stamps (I used Heidi Swapp) • Ink pad (Faber-Castell)
• Elmer’s Glue Stick
• Scissors (from Artisan Paperie)
• Paper tapes or Label stickers (from Artisan Paperie)
• Washi tapes
• Doily or patterned paper
• Marker or brush pen (from Artisan Paperie)
How to make the DIY Upcycled Box
{1} First, cover the front side with washi tape.
{2} Then glue the entire doily paper. Stick it on the cover extending at the back of the box.
* Make sure to check if all the edges of the doily paper was glued on the box. Then let it dry.
{3} Add washi tape on top of the doily paper. Extend it at the back so you’ll still have a design on that side.
{4} Get your rubber stamp and ink pad. Stamp it on top of the doily paper. You can also use other desing to stamp on the sides.
* Don’t worry if it’s not perfectly stamped, it added some character.
{5} Use the paper tape as your label to know what’s inside the box. This one is for my Daniel Smith watercolour tubes.
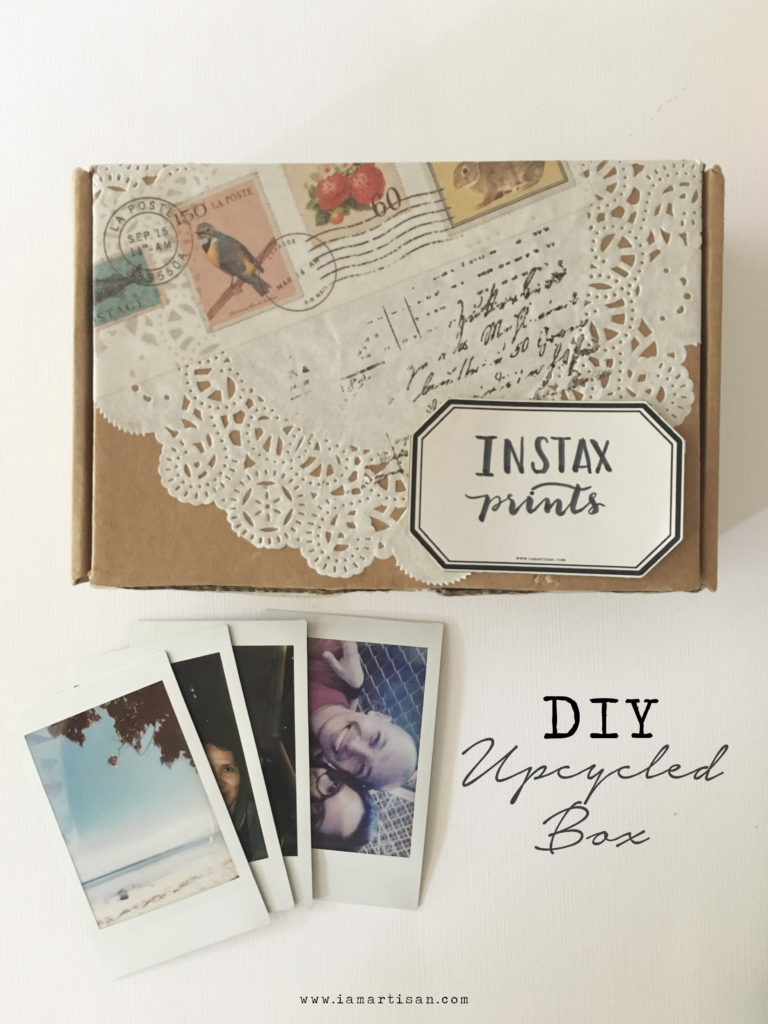
This one is to stack my Instax prints. I used Artisan Paperie label stickers.
A 15-minute DIY to organise your things using old boxes.
You can also do this with shoe, chocolate or cereal boxes. So go get those washi tapes, markers and stickers and have fun up-cycling those boxes.


