At the start of the year, I always have this itch wanting to buy new planners, notebooks and other extras for my stash. One of those are washi tapes. I haven’t bought any washi tapes since 2 years ago (wow! Patting myself at the back, lol). Thanks to no travels and being a mama!
Anyway, as the year started with a new bullet journal, I also wanted to buy new washi tapes and all those journaling deco stickers. But my intention for 2021 is to buy less and make use of what I already have. Plus, honestly, there is really no need to buy because I still have plenty of it that might actually last me years before I can consume them.
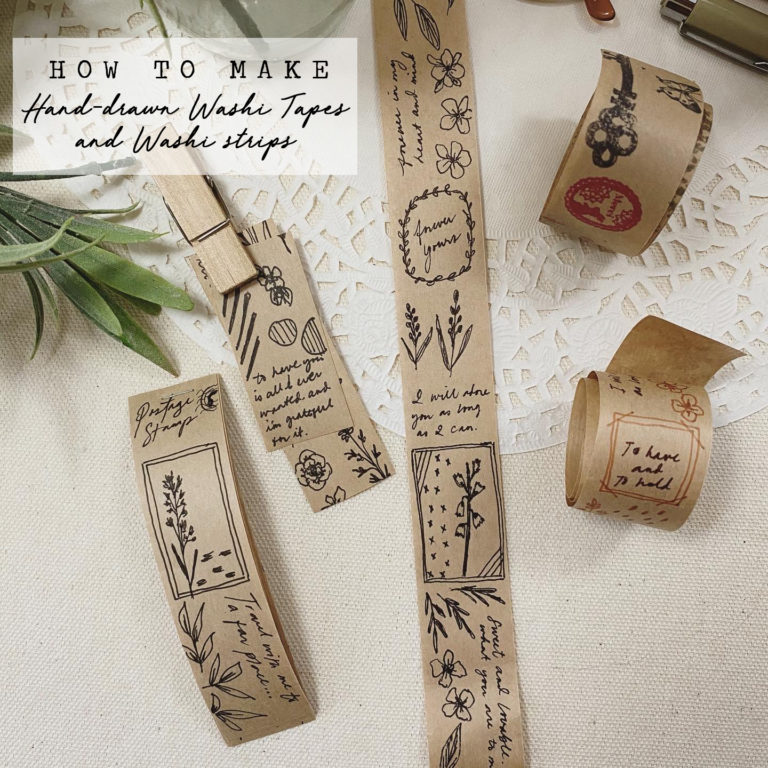
Thus, came the idea of making my own washi tapes and washi strips. So, I went to check my stash in the studio and only to find out, I really have no right to buy anything new any time soon. I have gazillion stocks of everything else. Instead of spending, let me practice my creativity by finding a way how to make use of whatever I have.
Materials I used for Washi Tapes and Washi Strips
• Kraft paper in 1-inch. Also available in 2-in width. (This is normally use for packing or painter’s tape.
• Pens or markers. Make sure they are waterproof.
• Ruler, Scissors, Paper Clip.
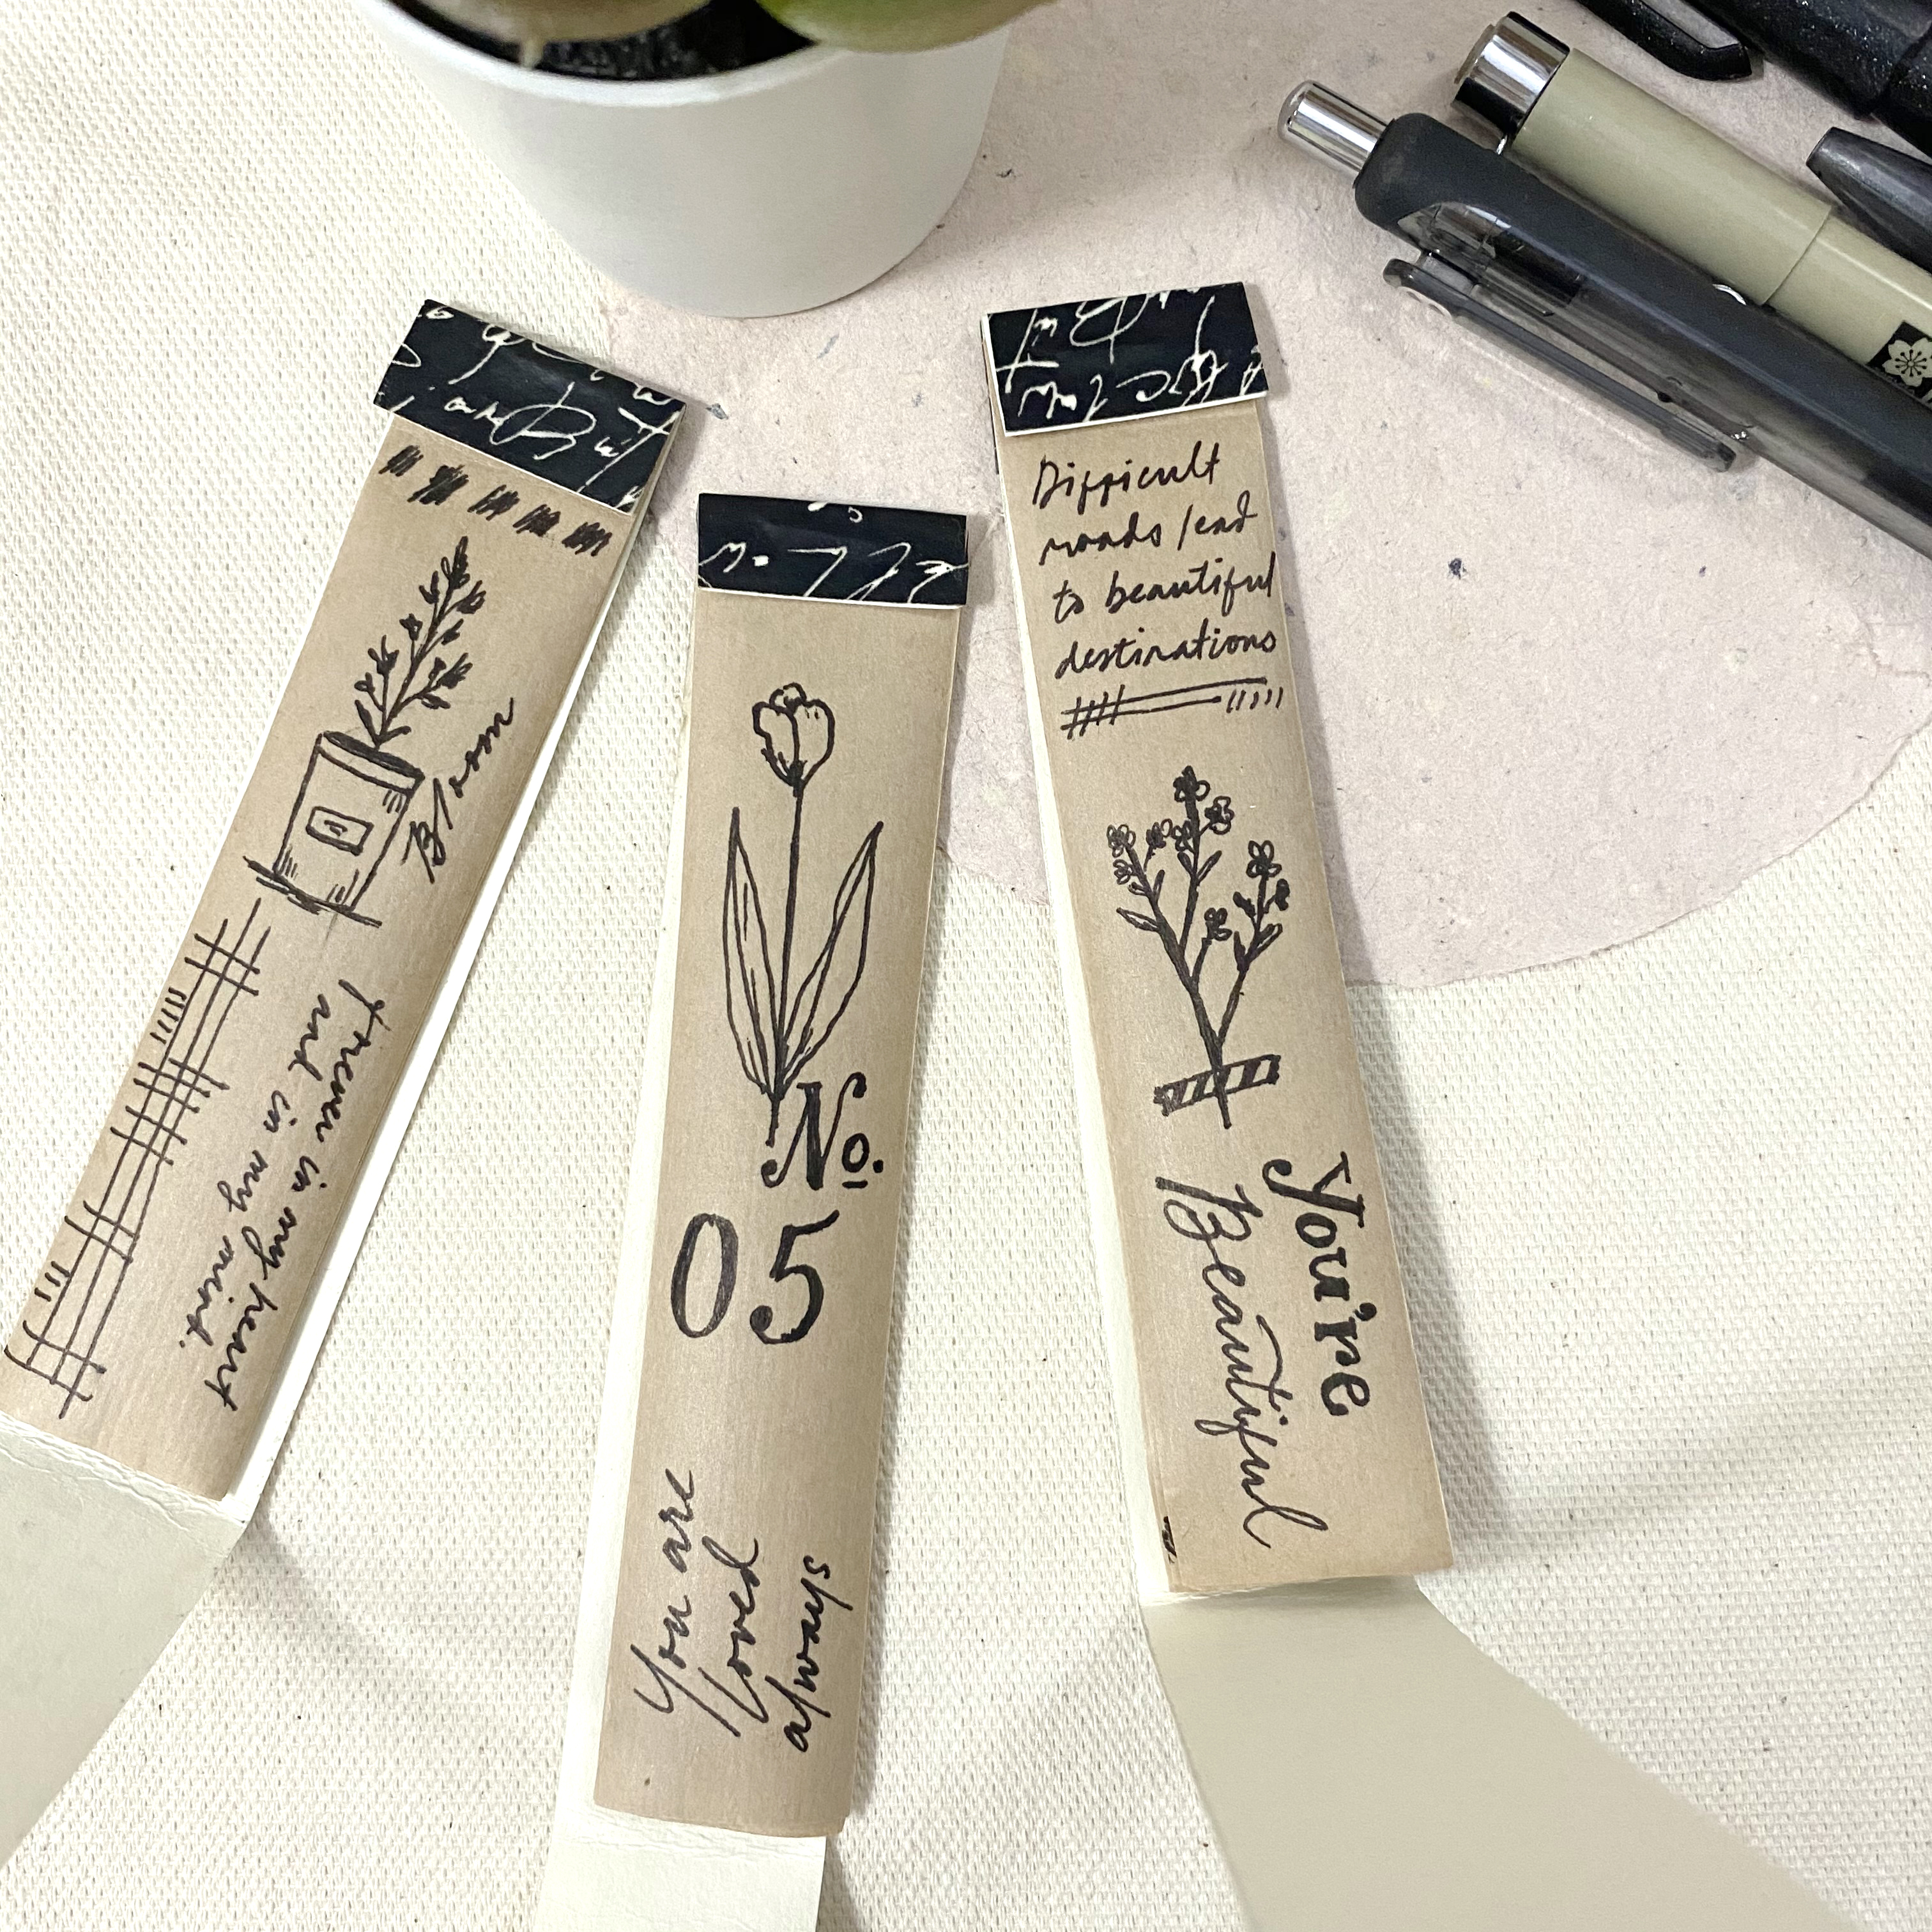
Since I’m more comfortable with black and less colors, I am just using my trusty fineliners or drawing pens in different nib sizes.
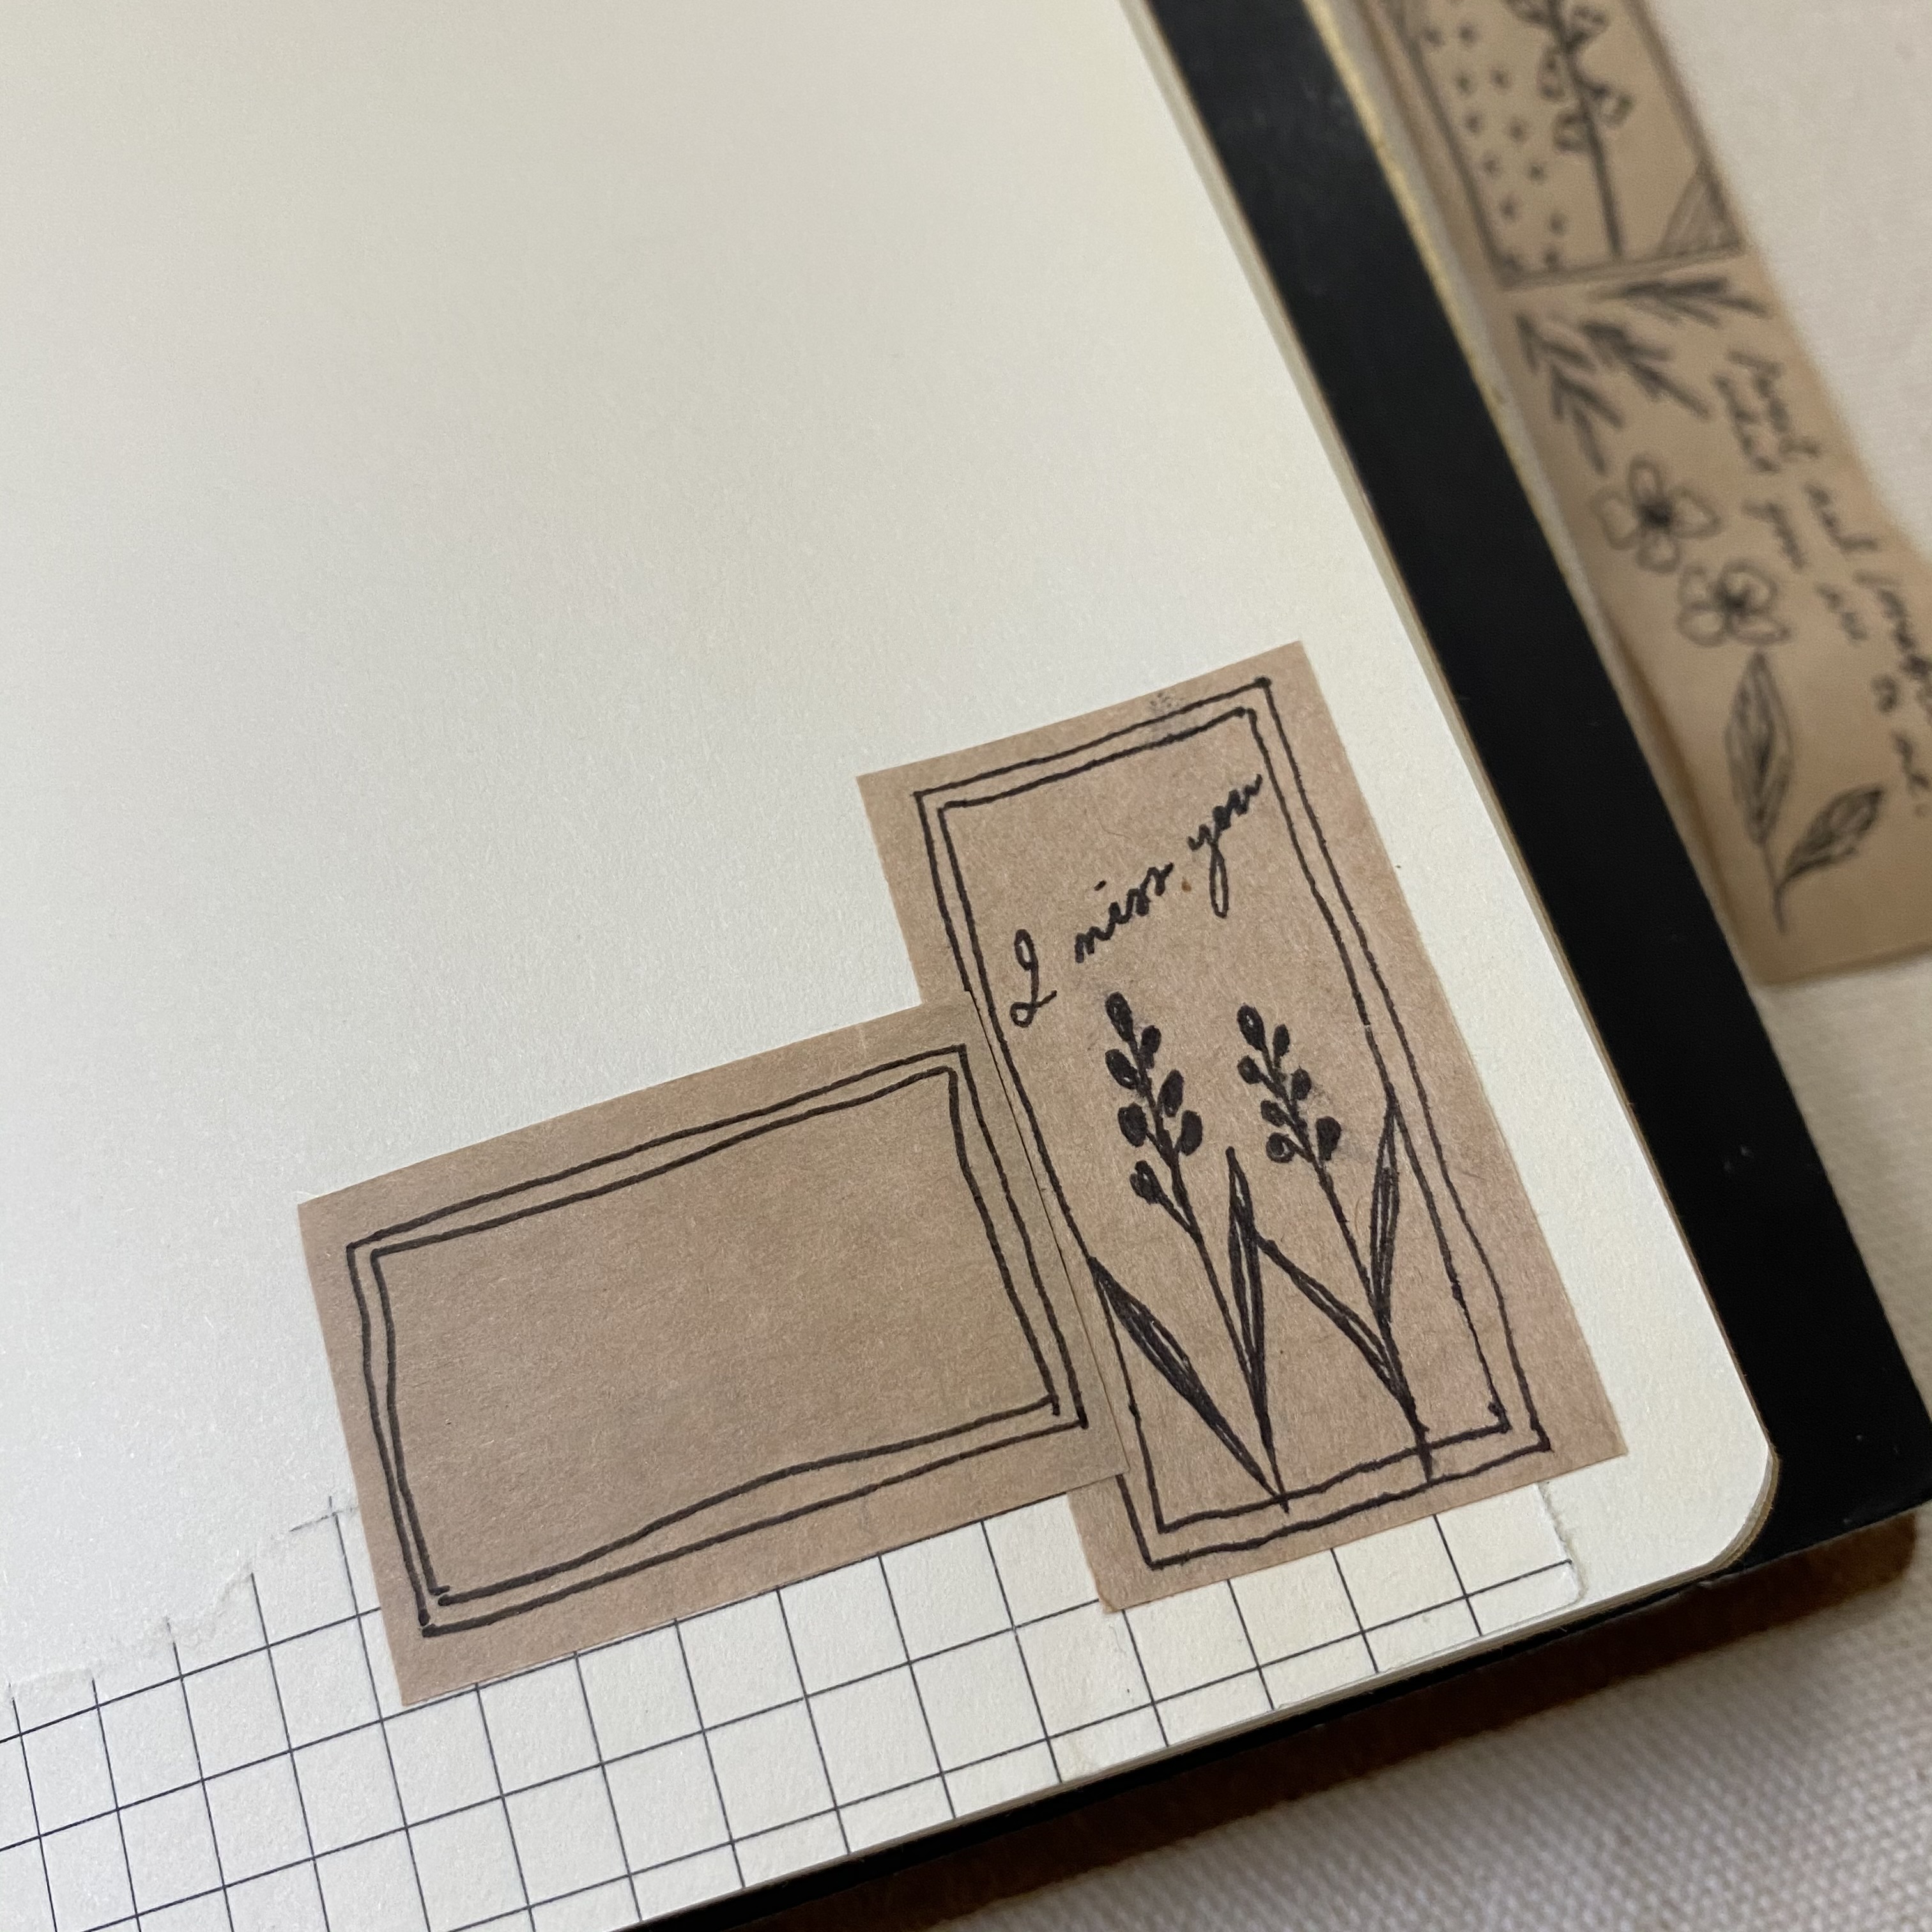
The idea of this is for journaling purposes too. So, I tried to draw something that I know that I can use on different occasions or whatever I might journal on.

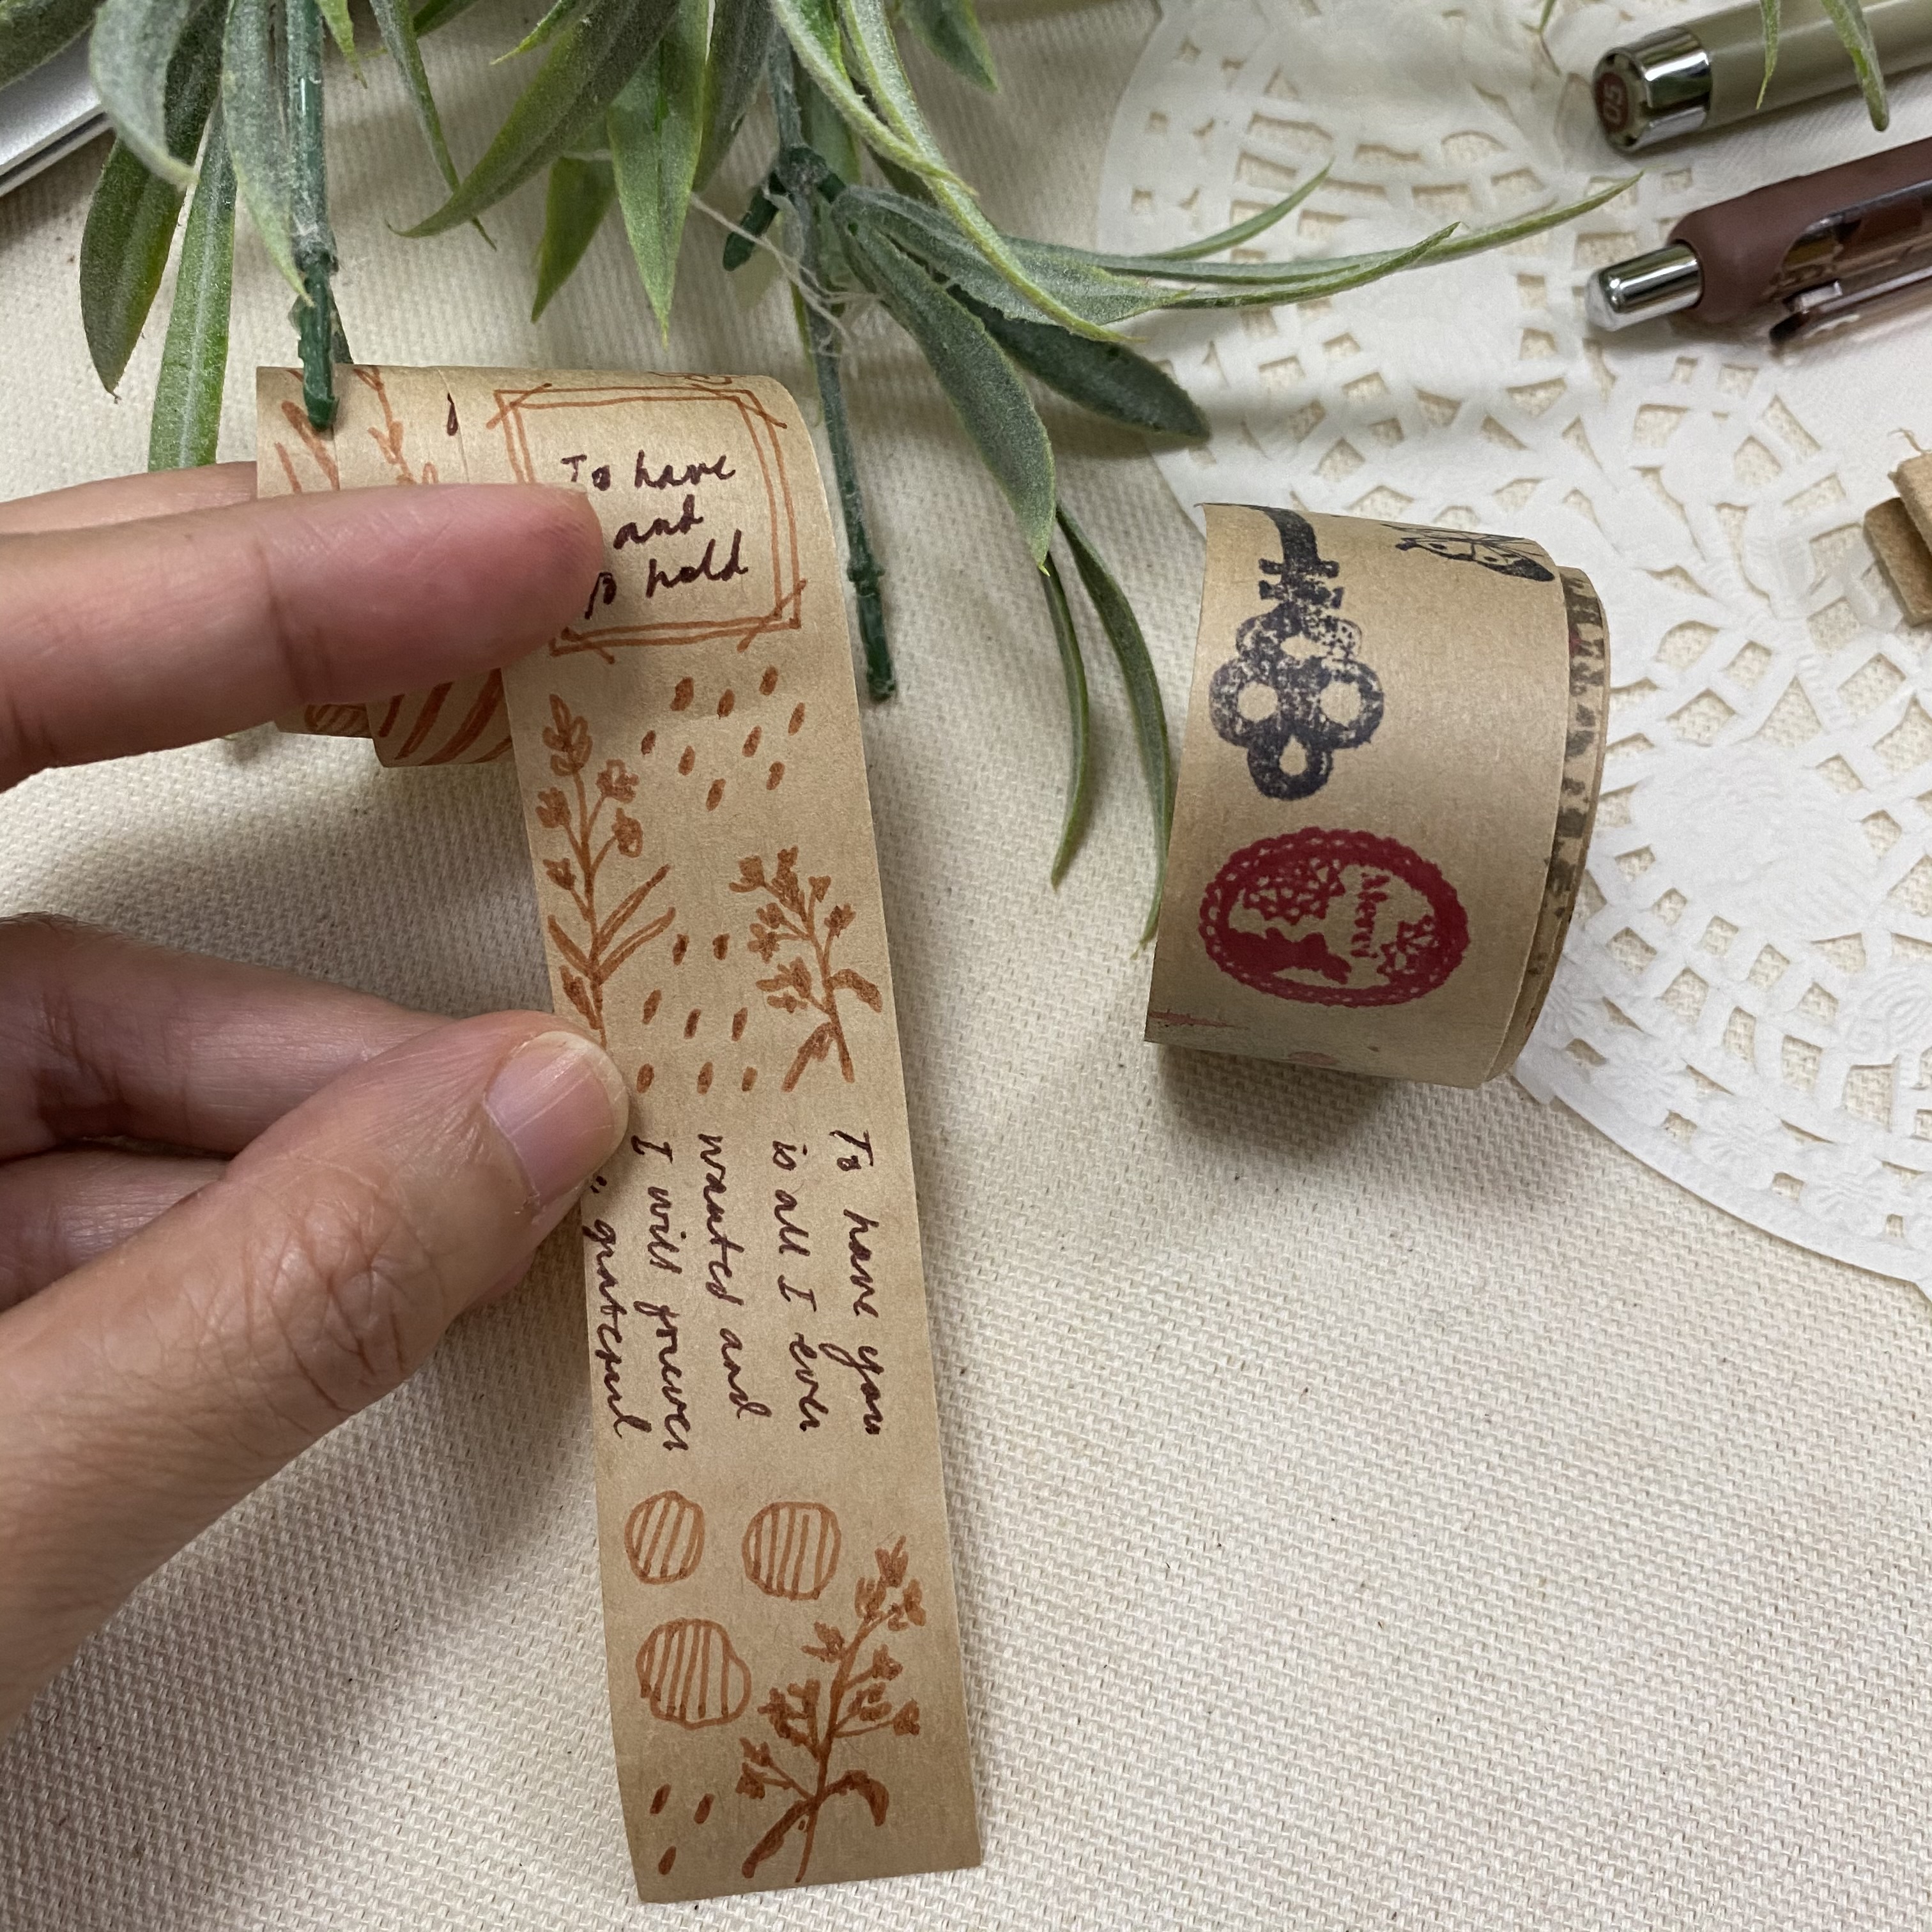
Anyway, I opted to use a kraft paper tape because this baby is really handy. If you’re not familiar with this yet, it’s a water activated adhesive tape. So, if you want to use it as a tape or to seal, just wet the backside. Yet if you want to use it as a coupon, just staple or use washi on it.
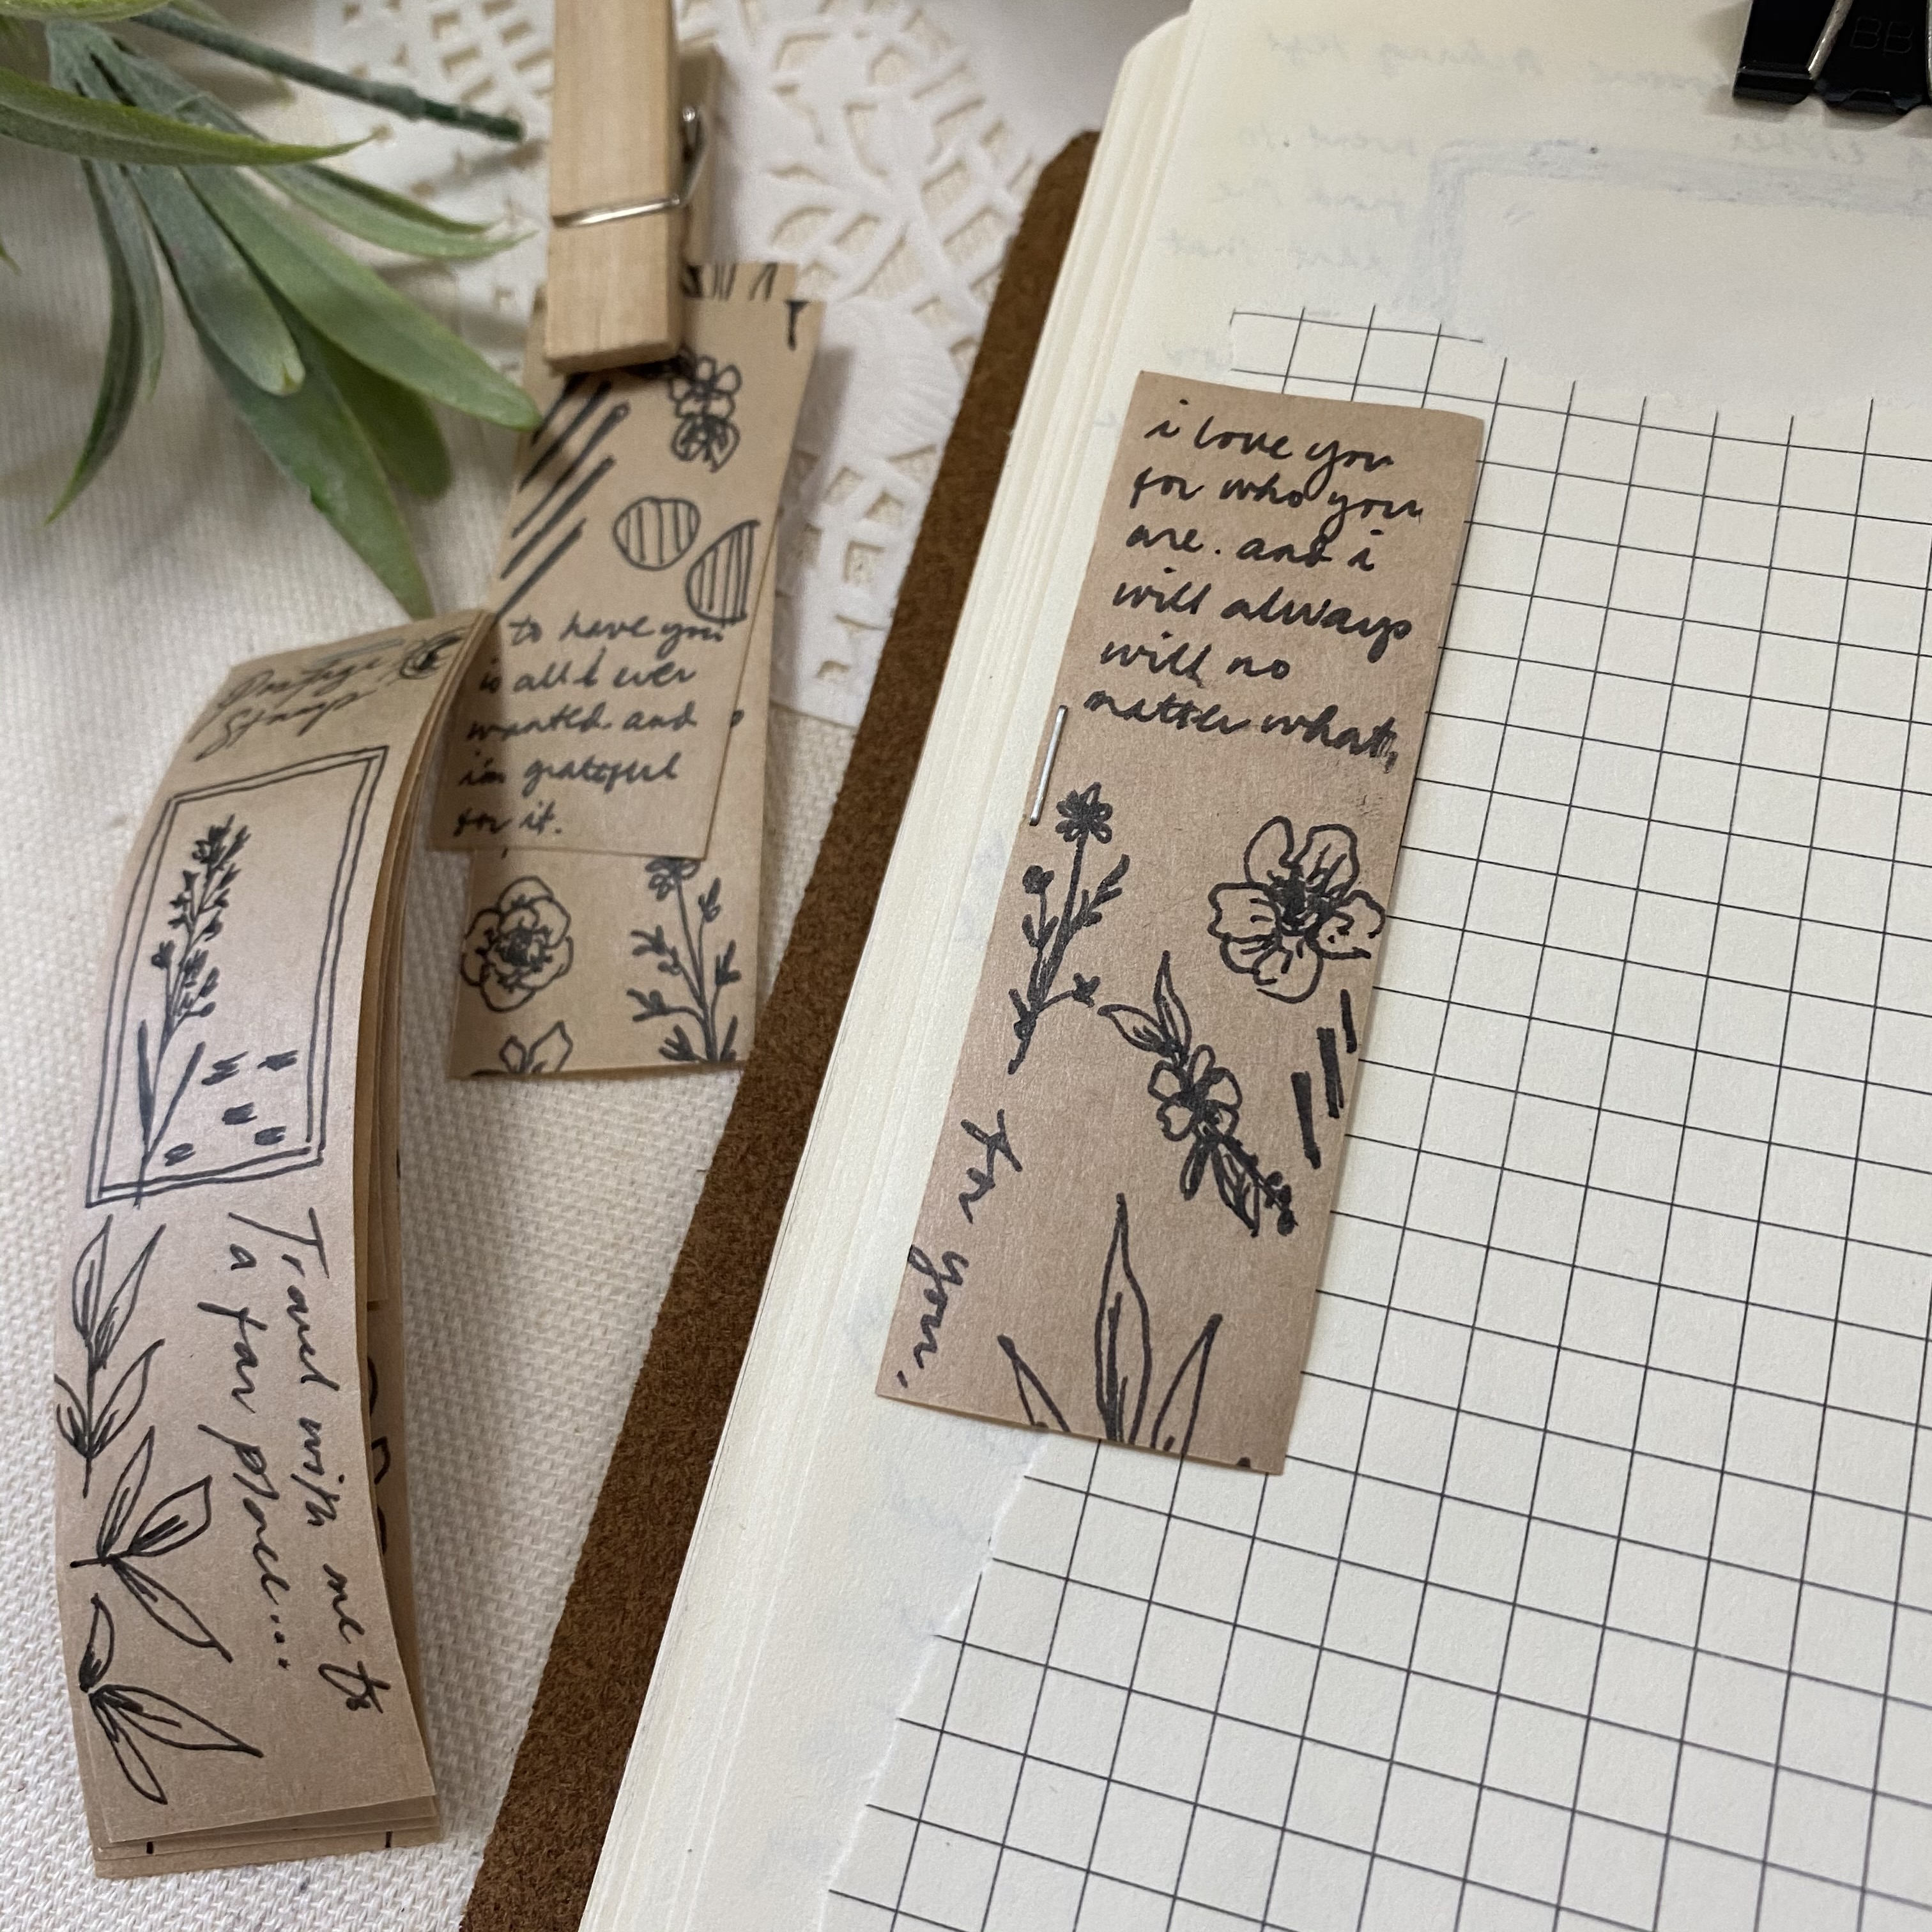
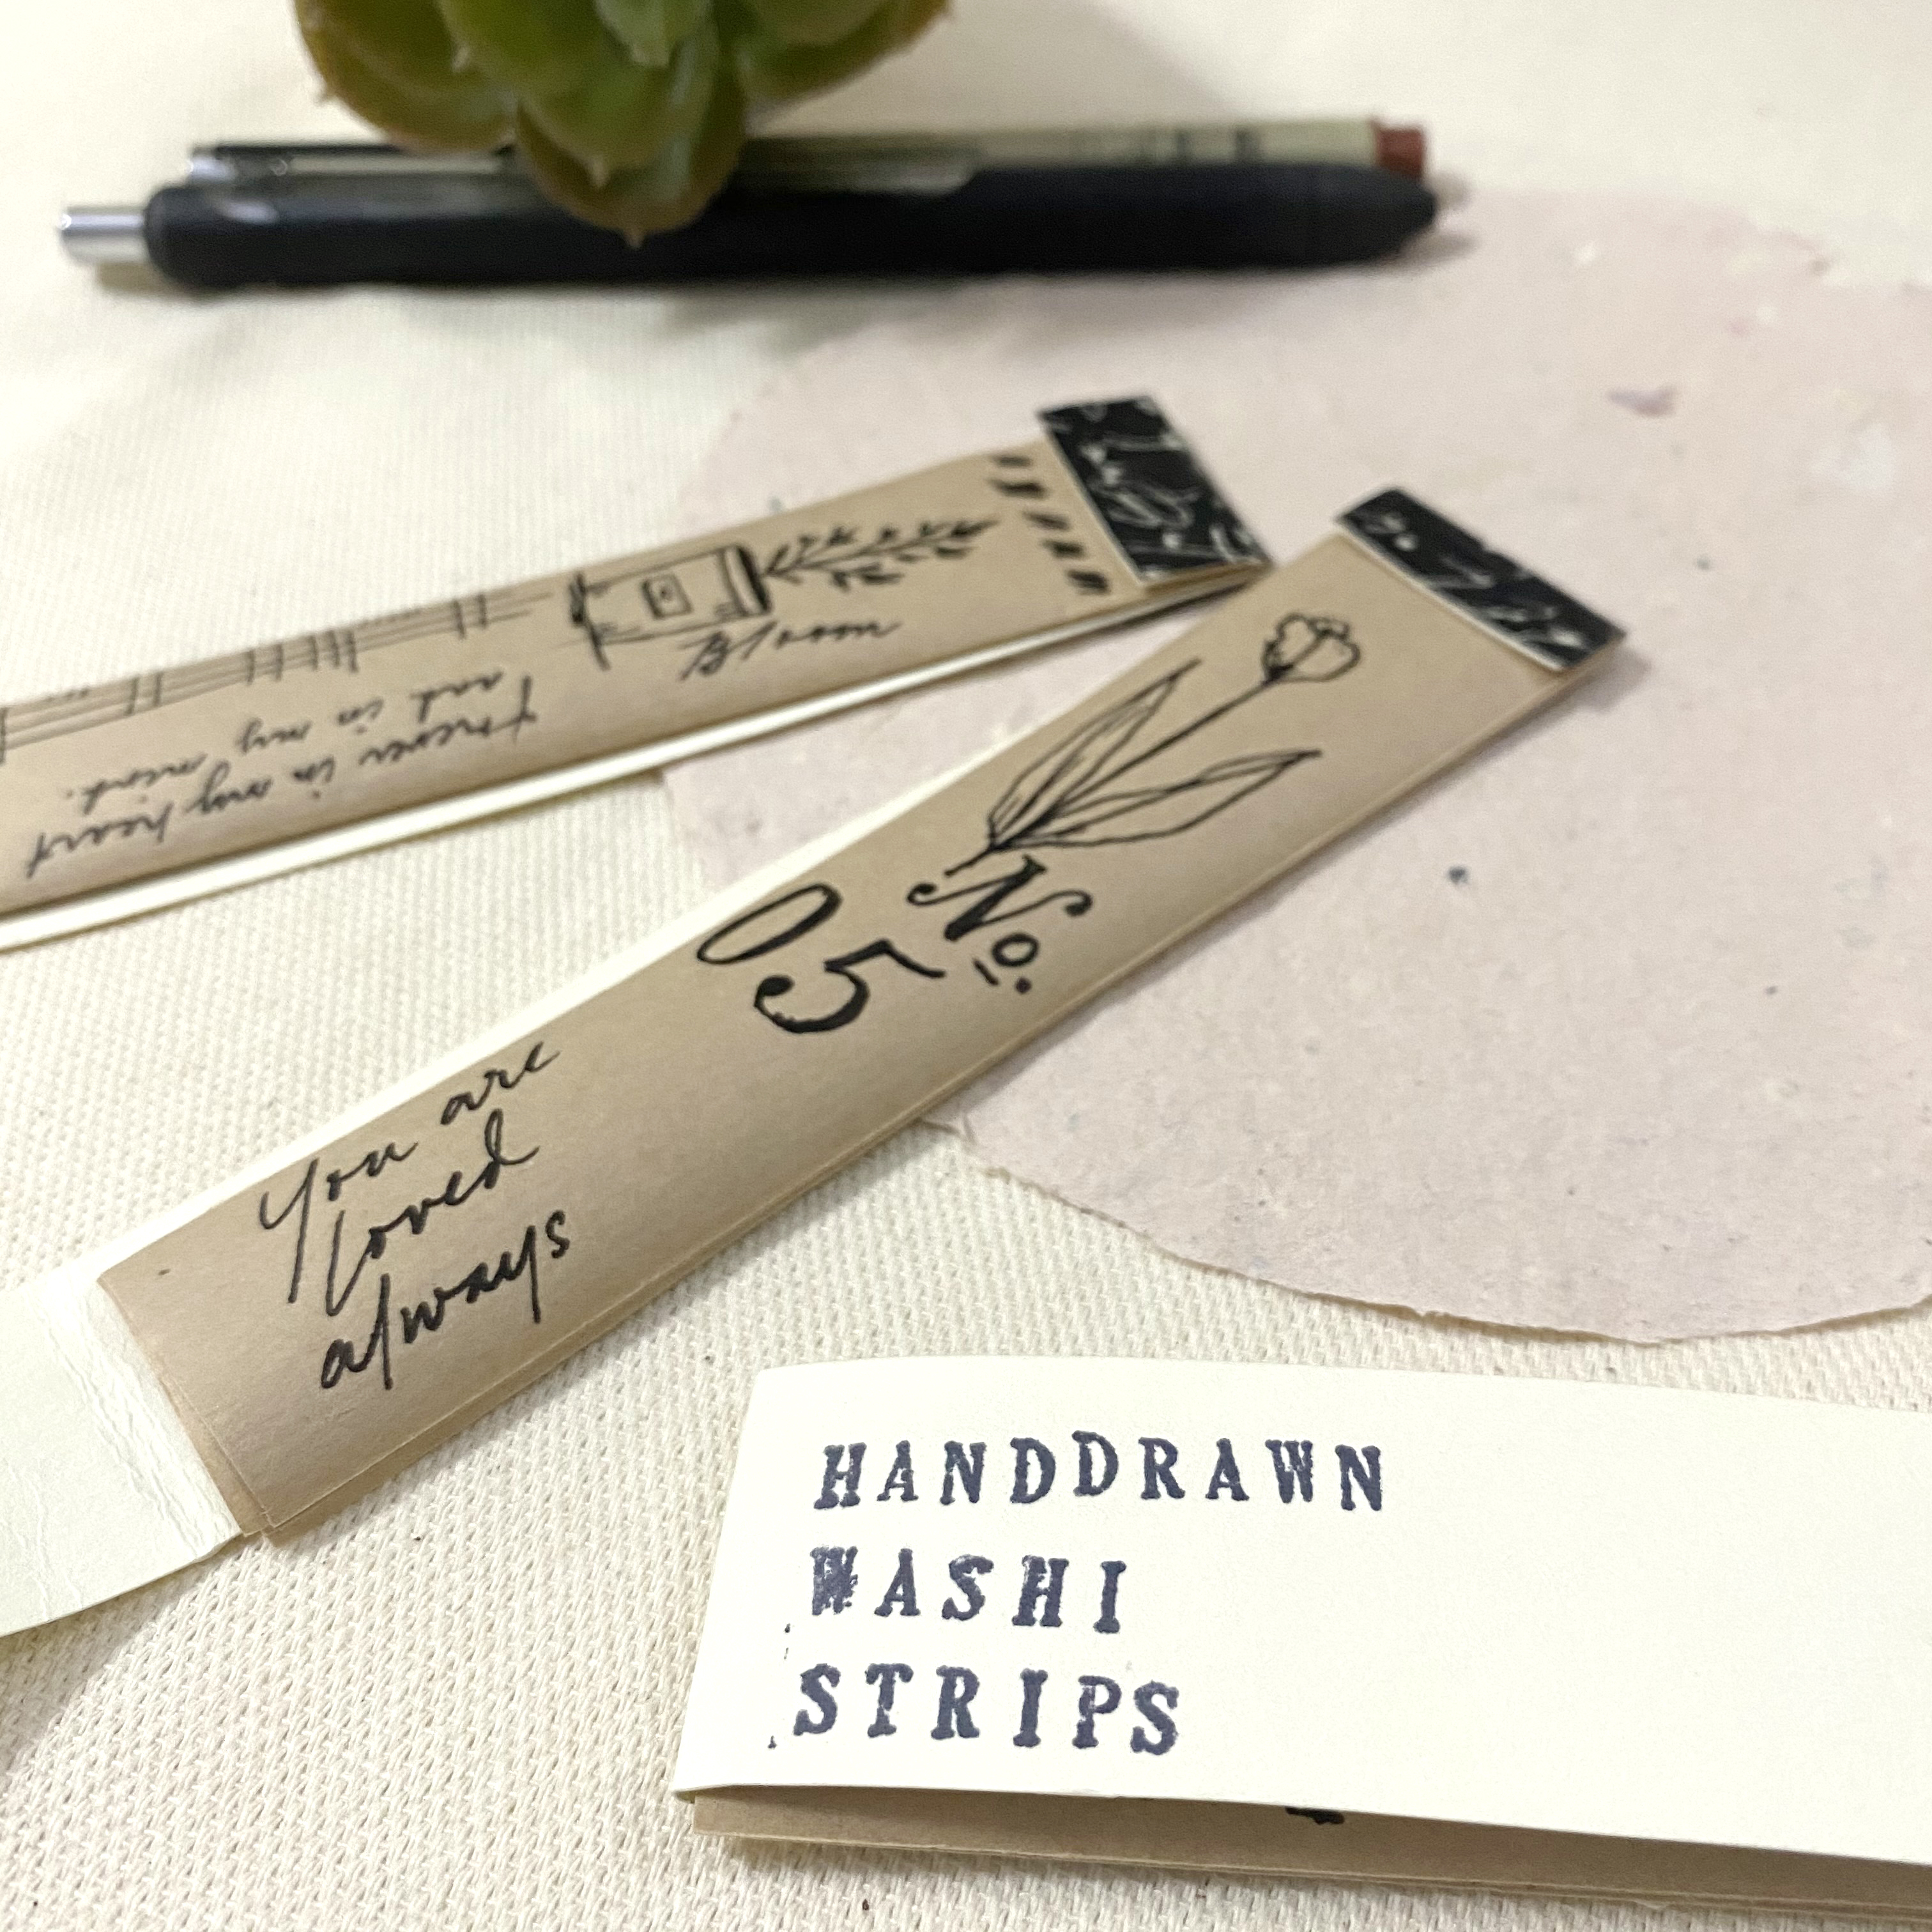
The idea at first is like a washi tape. So basically, it’s in a roll. However, I find this less handy since I want to bring this whenever I am. So, I’ve thought of strips as well. I just cut the tape based on the my desired size and stapled them at the top.
Anyway, here’s a full video of the tutorial.
If you’re not into making this but you like this, don’t fret because I’m offering this in the webshop now. I added a cover so you can keep it well on your journal stash. It’s a 4-in long in 5 strips of hand-drawn elements. Since they are literally hand-drawn, each strips are different.
For now, I only have limited stocks of these since they are quite handful too. I’m still figuring out how to reproduce this so I’ll have more stocks.
Anyway, enjoy this tutorial. It’s a very nice thing to add in your journals. And if you’ll make one, I would love to see them too. Feel free to tag me on Instagram: @iam_artisan or you can see more of my shop update here: @artisnanpaperie.
