Hello there… Oh! I haven’t done any DIY tutorials lately and how I miss doing it. I love sharing easy craft projects with you. So, I’m pushing myself to make every month. This time, I’ll be sharing simple tutorials or tips and tricks in collaboration with Instax. I’ll teach you how use Instax cameras, what to do with spoiled films and what DIY projects you can do with your Instax prints or a giveaway maybe, who knows.
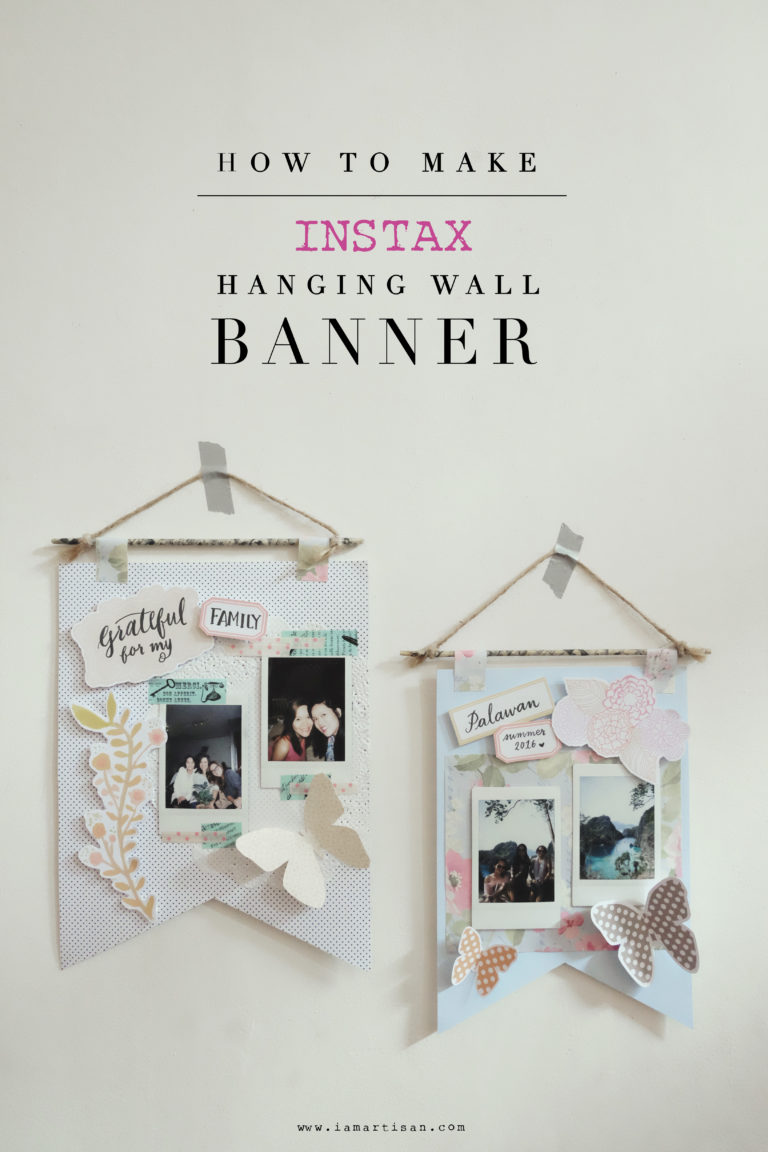
First, let me share what we did for Instax and Crafts last May in Abreeza Mall {I’ll be posting about this event soon}. We did a DIY Instax Hanging Wall Banner and here’s how…

Here are the materials you’ll need:

{1} Download the photo banner pattern A or photo banner pattern B. Use a cardstock or any thick paper and set your printer in high quality.

{2} Before you’ll start sticking everything… plan your layout first. This will help you visualise where your design is heading. It will also save you from damaging the paper from the glue.
A theme based from the photo will be useful in creating a layout.

{3} Once you’ve come up with the layout, start with the first layer or the background. This could be a doily, pattern paper or watercolour/acrylic paint. Anything goes.

{4} If you’re done with your first layer or background, you can now add your photos.
You can opt to stick the photos with glue but washi tapes can add to your decor.

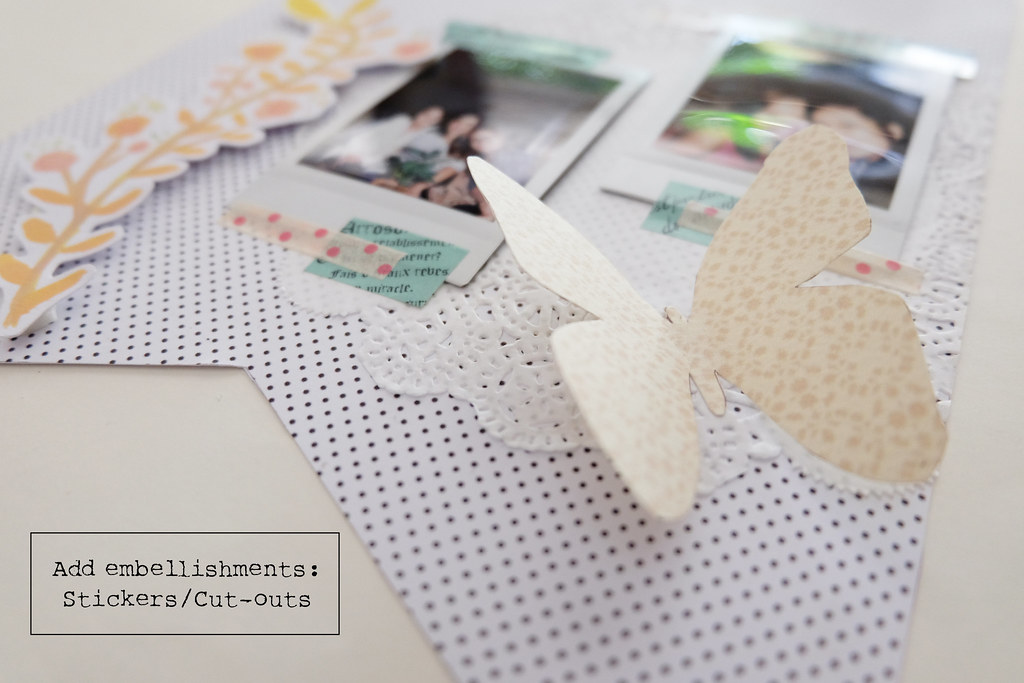
{5} Now, it’s time for embellishments.
I suggest you don’t overdo this because you want to focus on the photos rather than the embellishments.
{6} Adding a title, quote or dates with your own handwriting will give a more personal touch.

{7} To add a pop-up effect, double-sided tape will do the trick.

{9} Tie a jute’s twine at both ends of a stick. You can also add glue to it so it will stick.

{10} Use a scratch pattern paper or just make sure the paper is quite thick that it can hold the banner.

{11} Now to attached the banner to the stick.

{12} All you have to do is find where to place it.

I hung these at the top of my bed. I also did another one with a photo of me and Wacky. Try making buntings with washi tapes, it add dimension to your banner.

How simple was that? It’s really simple. When we did this last Instax and Crafts, it was so hard to choose for a winner because everyone did so well. Plus you get to win an Instax camera. It was such a fun activity for everyone.
It would be very nice to see your DIY Instax Hanging Wall Banner. Kindly tag us on instagram: @iam_artisan and @teaminstaxph so we can also share what you come up.
I hope you enjoyed this. Next time, I’ll teach you some tricks with either the Instax camera or film. Have a great weekend!
