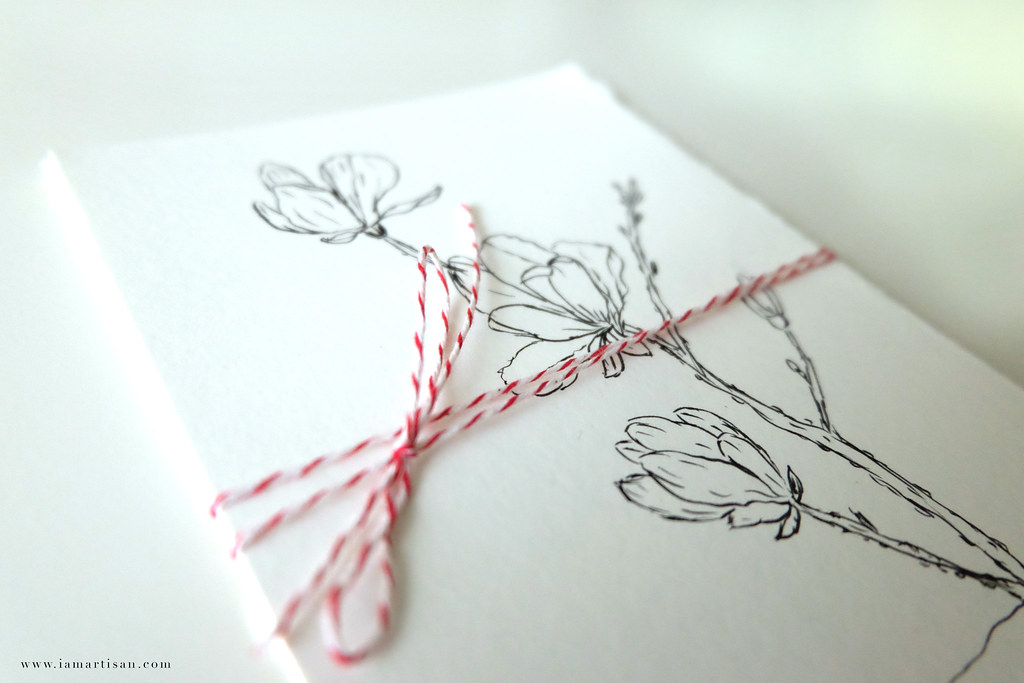
There’s something about Vancouver that keeps me doing something creative. I enjoy painting and drawing here. Maybe because, I don’t have anything else to do. No responsibilities, no errands {it’s a challenge though to be away from your business}.
Anyway, every time I’m in a different place, I always look for postcards. For some, they like collecting magnets while for someone like me who still love snail mail, I enjoy scouting for postcards. While I was seeing a lot of it here, I had an idea why not make a DIY drawing postcard instead. 
Materials for DIY drawing postcard
• Thick paper like watercolour paper
• Pen/Marker {I’m using a Japanese pen with small tip – this is available in the shop}
How to make the DIY drawing postcard
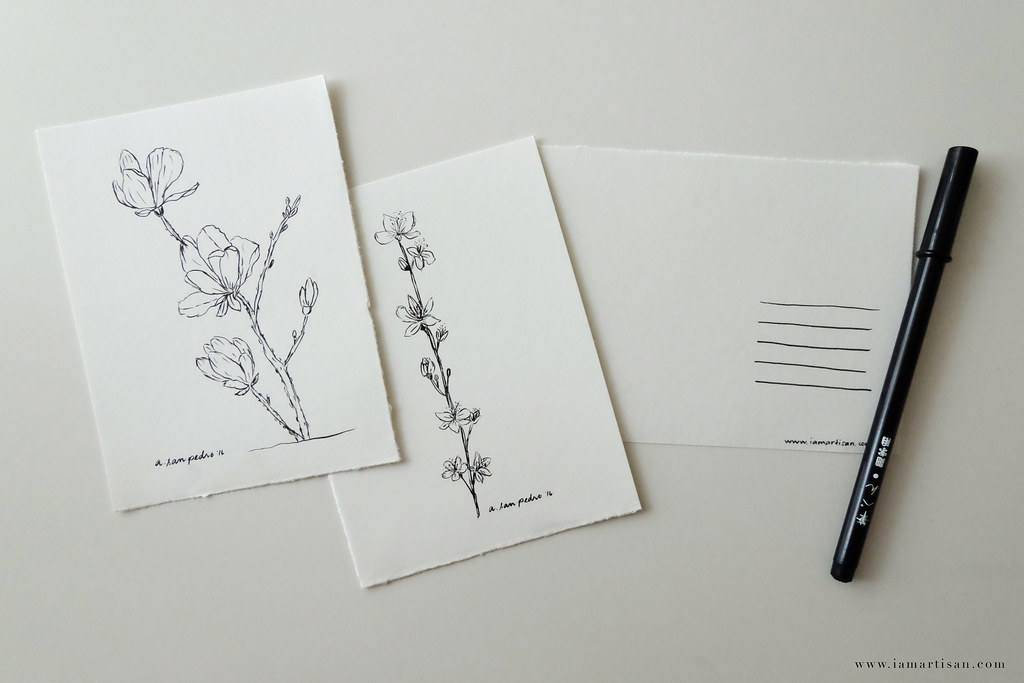
{1} I’m using a 9×12-inch 180gsm watercolour pad and cut it into four. I didn’t use scissors because the tear on the edges looks more handmade and vintage. The matte texture of watercolour adds to it feel as well.
{2} Get any pen you’re comfortable with. In my case, I found this Japanese pen that I’m quite fond of lately. It has a small and bendable tip. Thick and thin strokes are easy to make. And since I like black and white and simple drawing of botanicals, this is what I drew.
{3} Once you’re done with your drawing, add lines on the right side, this is where you will put the address.
Ain’t that a simple way of making your own postcard? If you’re more comfortable with watercolour, colour pencils or pastels feel free to do so. Make this your own.
Now, since I told you I enjoy snail mail, I have a surprise for you. Wait for my next post…


