Few weeks ago, my sister celebrated her birthday and I decorated Yellow Hauz with garlands. After the party, I’ve thought of recycling it in my studio and hanged it just above our perpetual calendar. This is how I did this simple DIY round garlands.
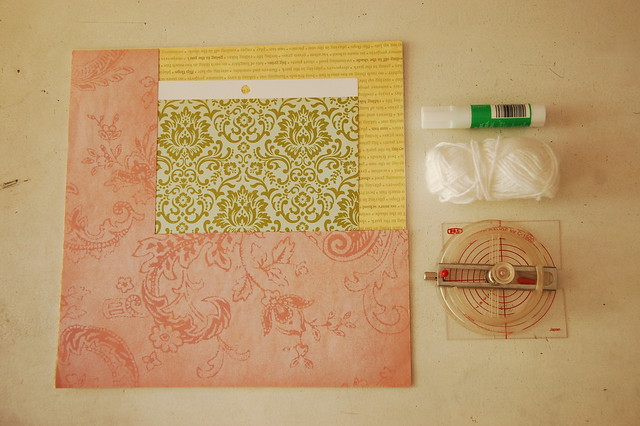
Materials you’ll need:
• Scrap or new cardstocks
• Glue stick
• Twine or Yarn
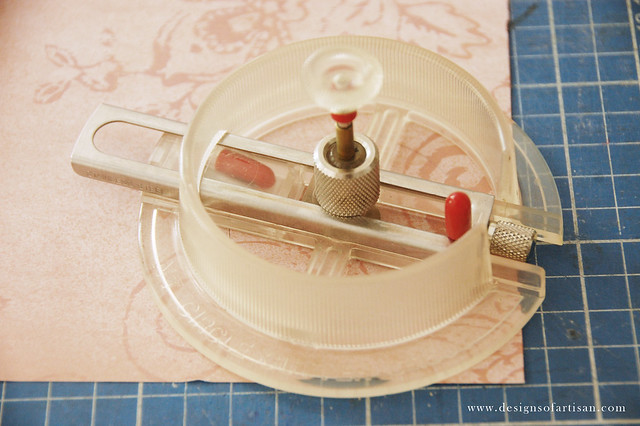
• Round cutter
• Round punches
• Scissors and Cutting mat
How to do it:
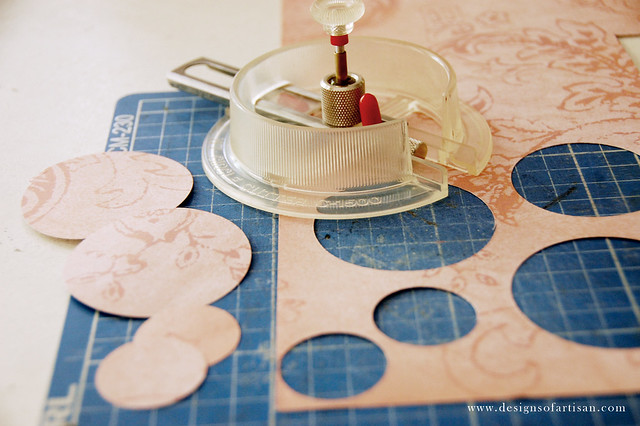
{1} Place your round cutter in a cardstock. I’m using a japanese brand cutter where you can adjust it to different sizes. Try to cut on the edges first to save some space.
{2} I had some few errors, but you can still use the spaces with small circles.
{3} Always make sure to cut a pair of rounds, because you’ll be using them back to back. Also use round or scallop punches for variations.
{4} If you’re done cutting the circles, placed them on a twine. Try placing them evenly before gluing it together.
{5} Alternate the rounds and scallop shapes and from small to big ones.
Once used in a party, now its hanging pretty in my studio. Practical indeed! Don’t you just love simple DIY‘s? You can also use different shapes with it. The point is, just have fun!


I love this! Might make one over the weekend. Where did you buy your circle cutter? Looks really sturdy!
Yeah! Same question as Geli’s! Mine circular cutter stopped working! RAR :s