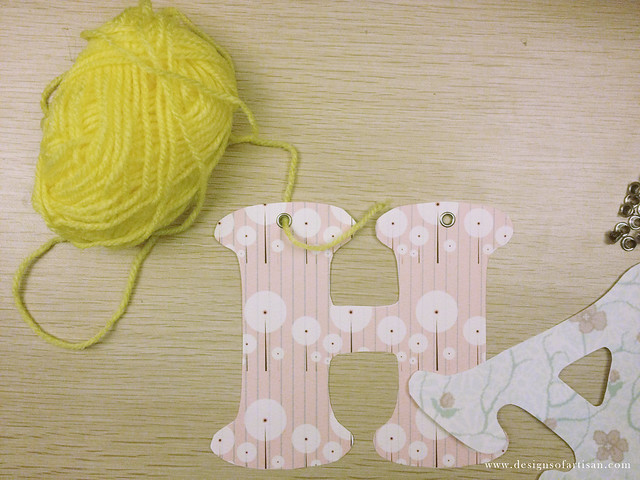
Hearing a lot of birthdays recently so I’ve thought of sharing a DIY Happy Birthday Bunting. All you have to do is print, cut and display. Easiest way to spice your party.
Materials:
• Desktop Printer
• White cardstock or specialty paper
• Scissors
• Eyelet puncher and eyelets
• Yarn or twine
What to do:
{1} Simply save and print the patterned letters on a 11x13in white cardstock. You can download the letters here.
{2} Once you’re done with the printing, simply follow the shape of the letters for cutting.
{3} Punch a hole on the upper middle side of the letters and put an eyelet on it.
{4} Now line up the word “happy” then “birthday” and measure the yarn that fits all the word. I made the words one bunting each. Make sure to add extra yarn on both ends for tying. Then cut a yarn roughly around 2-inch per eyelet and tie each letter on the longer yarn.
You’re all set to hang them. I also made one for Yellow Hauz.
Maybe you’ll also find ideas from some of my DIY‘s. Enjoy your party.


This is really cute! I love that font.
Thanks Eula, go and download it =)
Galing galing naman talaga ni twinsy! If I will be doing it, I’ll probably do it the hard way! (masochist ako e, haha!) Thanks for sharing this. I learned something new (and easier!). Miss u…..
[WORDPRESS HASHCASH] The poster sent us ‘0 which is not a hashcash value.